DIY FLOWER ARRANGEMENT: AFFORDABLE AND EASY FLORALS
/--
Arrange Flowers Like a Pro
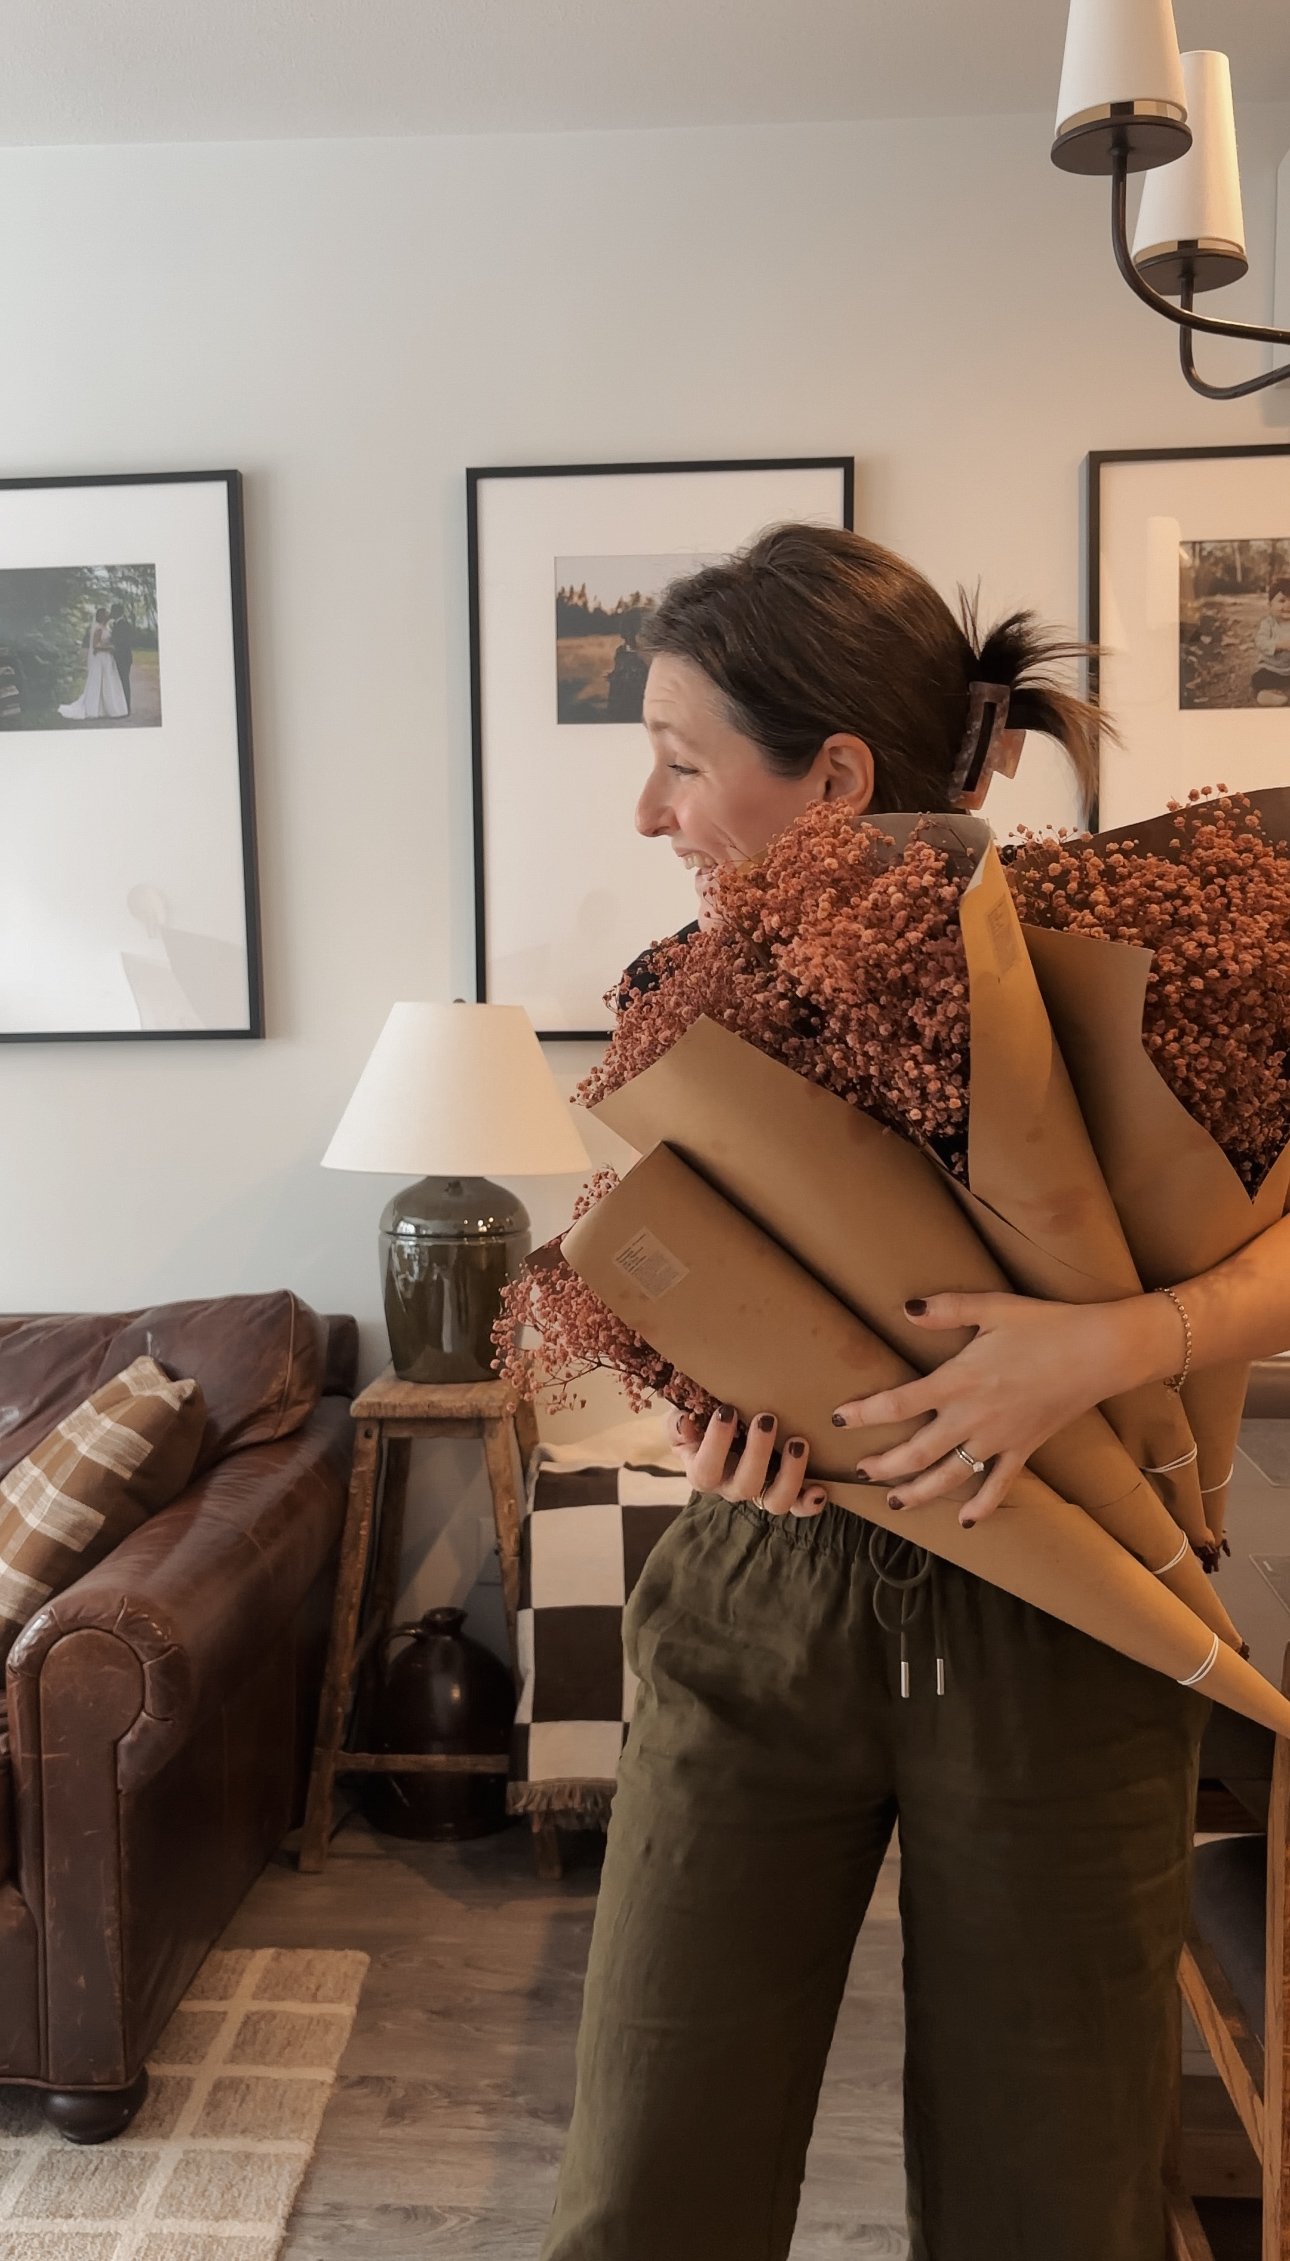
Fresh flowers can instantly brighten up a space, but store-bought arrangements often come with a hefty price tag. That’s why I decided to try my hand at a DIY floral centrepiece - one that’s budget-friendly, easy to put together, and just as beautiful as anything from a florist. The best part? I’m using dried flowers, so they require no upkeep and look extremely realistic.
I fell in love with the image below from one of my favorite design books (Made for Living by Amber Interiors) and instantly knew I wanted a similar look in my own home. The pot alone was over $350, so with a little creativity and a few simple tricks, I found a way to make my own stunning centerpiece without spending a fortune. In this step by step guide, I’ll walk you through my process, from choosing the right flowers to arranging them like a pro—all while keeping costs low.


Step 1: Choose your Flowers
When selecting faux and dried flowers for a DIY arrangement, my biggest tip is to focus on quality, texture, and color. High-quality faux flowers should have realistic petal shapes, natural-looking stems, and subtle color variations to avoid a plastic-like appearance. Look for soft fabric petals rather than stiff or overly glossy ones. For dried flowers, choose varieties that hold their shape and color well, such as pampas grass, lavender, or preserved eucalyptus. Mixing different textures—like delicate baby's breath with structured dried palm leaves—adds dimension and a natural feel. Stick to a cohesive color palette that complements your space, whether it’s soft neutrals for a minimalist look or rich, deep hues for a bold statement.
Step 2: Choose Your Base or Vase
The right vase or planter can elevate your DIY flower arrangement, giving it a polished and intentional look. When choosing a vessel, consider the overall style you want to achieve—sleek glass vases work well for a modern, minimalist aesthetic, while ceramic or textured pots add warmth and character. The size and shape of the vase should complement your flowers; tall, narrow vases are perfect for long stems and dramatic arrangements, while shorter, wider vessels work best for full, rounded displays.

Step 3: Get Some Floral Foam
Floral foam can be a game-changer for DIY flower arrangements, providing structure and stability to keep everything in place. This dense, sponge-like material is especially useful for intricate designs or when working with a mix of faux, dried, and fresh flowers. Simply cut the foam to fit your vase or container, then insert stems at an angle to create a natural, full look.
You can also use chicken wire, tape, boxes, or anything else you can think of to full your pot.

Step 4: Put 'Em Together and Arrange 'Em
This is where it gets fun! Creating a stunning arrangement with just one type of flower is all about playing with height, spacing, and texture. Start by prepping your flowers—trim the stems at varying lengths to add dimension. Place the tallest stems in the center or back of the vase to create height, then layer in shorter stems around them to form a natural, cascading shape.
For a structured, elegant display, keep the stems evenly spaced and symmetrical. If you prefer a looser, organic feel, let some stems lean slightly to the side for movement. Using a monochromatic arrangement allows the natural beauty of the blooms to shine while still looking intentional and refined.
Floral design is very personal, so do what you love best.

My Modern Organic Flower Arrangement
And this is the end result! I'm absolutely thrilled with how it all came together, and it cost me under $130 for everything.. Similar arrangements can cost over $350, so I would say that I was able to achieve the look for way less.

More Organic Modern Wayfair Finds
As always, I didn't stop there. I rounded up the best Wayfair finds that will help you decorate on a budget. I found a scalloped entryway table, a spindle accent chair, an affordable vintage style dough bowl, a metal and marble side table, a modern farmhouse coat tree with storage, and so much more.

2. Bundle of 4 Real Dried Preserved Baby's Breath, $36
3. Rockport Pot Planter, $90
4. Joss & Main Jettie Ceramic Butter Dish, $45
5. Gaberial Genuine Marble Top End Table $96
6. Mexborough 72'' Double Bathroom Vanity with Engineered Stone Top, $1,899
7. Millissa Mid-Century Solid Wood Accent Armchair, $226
8. Joss & Main Castilly Candy Bowl, $36
9. Roseboro 4-Light Unique Glass Flush Mount, $138
10. Faynell 2 Drw Large Console, $317
11. Fiama Solid Wood End Table, $119
12. Valentia Handmade Solid Wood Decorative Bowl 1, $71
Beautiful Flowers and Decor on a Budget
Decorating with flowers doesn’t have to be expensive - by making your own arrangements, you can create something just as beautiful as a store-bought bouquet at a fraction of the cost. With a little creativity, the right materials, and a few simple techniques, you can design a stunning centerpiece or everyday floral display that suits your style and budget.
Thanks for finding it with me.
Still want more? Check out my aesthetic dog stairs, my modern organic home tour, and some small front porch ideas.
DIY Faux or Dried Flower Arrangement FAQs
1. What are the best budget-friendly flowers for DIY arrangements?
Affordable fresh flowers like carnations, daisies, baby’s breath, and chrysanthemums offer great value and longevity. To add volume, add filler flowers, leafs, or greenery to make the arrangement look thicker and more dense.
For faux arrangements, look for sales at craft stores or online retailers to find high-quality options at lower prices. I also love to thrift my faux flowers and mix them in with new ones that I find too.
2. Do I need floral foam or tape for my arrangement?
Floral foam and floral tape can help keep flowers in place, but it’s not always necessary. If you prefer an eco-friendly alternative, try using chicken wire, floral frogs, or even crumpled paper to keep stems in place.
3. How do I make a single-flower arrangement look interesting?
Vary the stem lengths (even for smaller flowers), arrange them in a natural shape, fill your vase or pot fully, and use an eye-catching vase to add interest. You can also play with color variations if the flower type comes in multiple shades.
4. How do I make my faux floral arrangement look more realistic?
Choose high-quality faux flowers with natural-looking textures and subtle color variations. Fluff and shape the petals, trim any visible plastic stems, and mix them with real greenery or dried elements to enhance the natural effect.