FREE GALLERY WALL TEMPLATE: OVERSIZED MAT SQUARE FRAMES
/SPONSORED POST
This DIY project is sponsored by Custom Mat and I received compensation for this post. I wrote this article myself and as always, all opinions are 100% my own. This post also uses affiliate links. This means that if you purchase something that I feature, I’ll get a small commission (this will not increase the price of the item). Thank you for supporting KFI!
Whether you’re looking for a family photo gallery wall, a behind-the-couch gallery wall, or some gallery wall templates, you’ve landed in the right place. Welcome to my gallery wall and picture frame series; this where I show you how to get the most beautiful gallery walls on a budget.
I’m going to go ahead and bring you up to speed - here’s what I’ve covered so far:
GALLERY WALL TEMPLATE: OFFSET OVERSIZED MAT RAMSBORG FRAMES
AN OVERSIZED BLACK AND WHITE MAT GALLERY WALL GRID
DIY OVERSIZED MAT & SQUARE FAMILY PHOTO FRAMES
AN OVERSIZED MAT GALLERY WALL WITH IKEA RIBBA FRAMES
DIY Oversized Large Square Picture Frames
Blame it on Instagram, but I have a love for square photo frames. But not just any square photo frames - large square photo frames with oversized mats. There’s something about the proportions and balance that make them show-stopping.
So today, I’m showing you how to get the large square picture frames with oversized matting for less. I’m going to give you my exact process and measurements, so you can easily recreate this DIY on your own. Let’s get started!
STEP ONE: CHOOSE YOUR SPACE AND BUY YOUR FRAMES
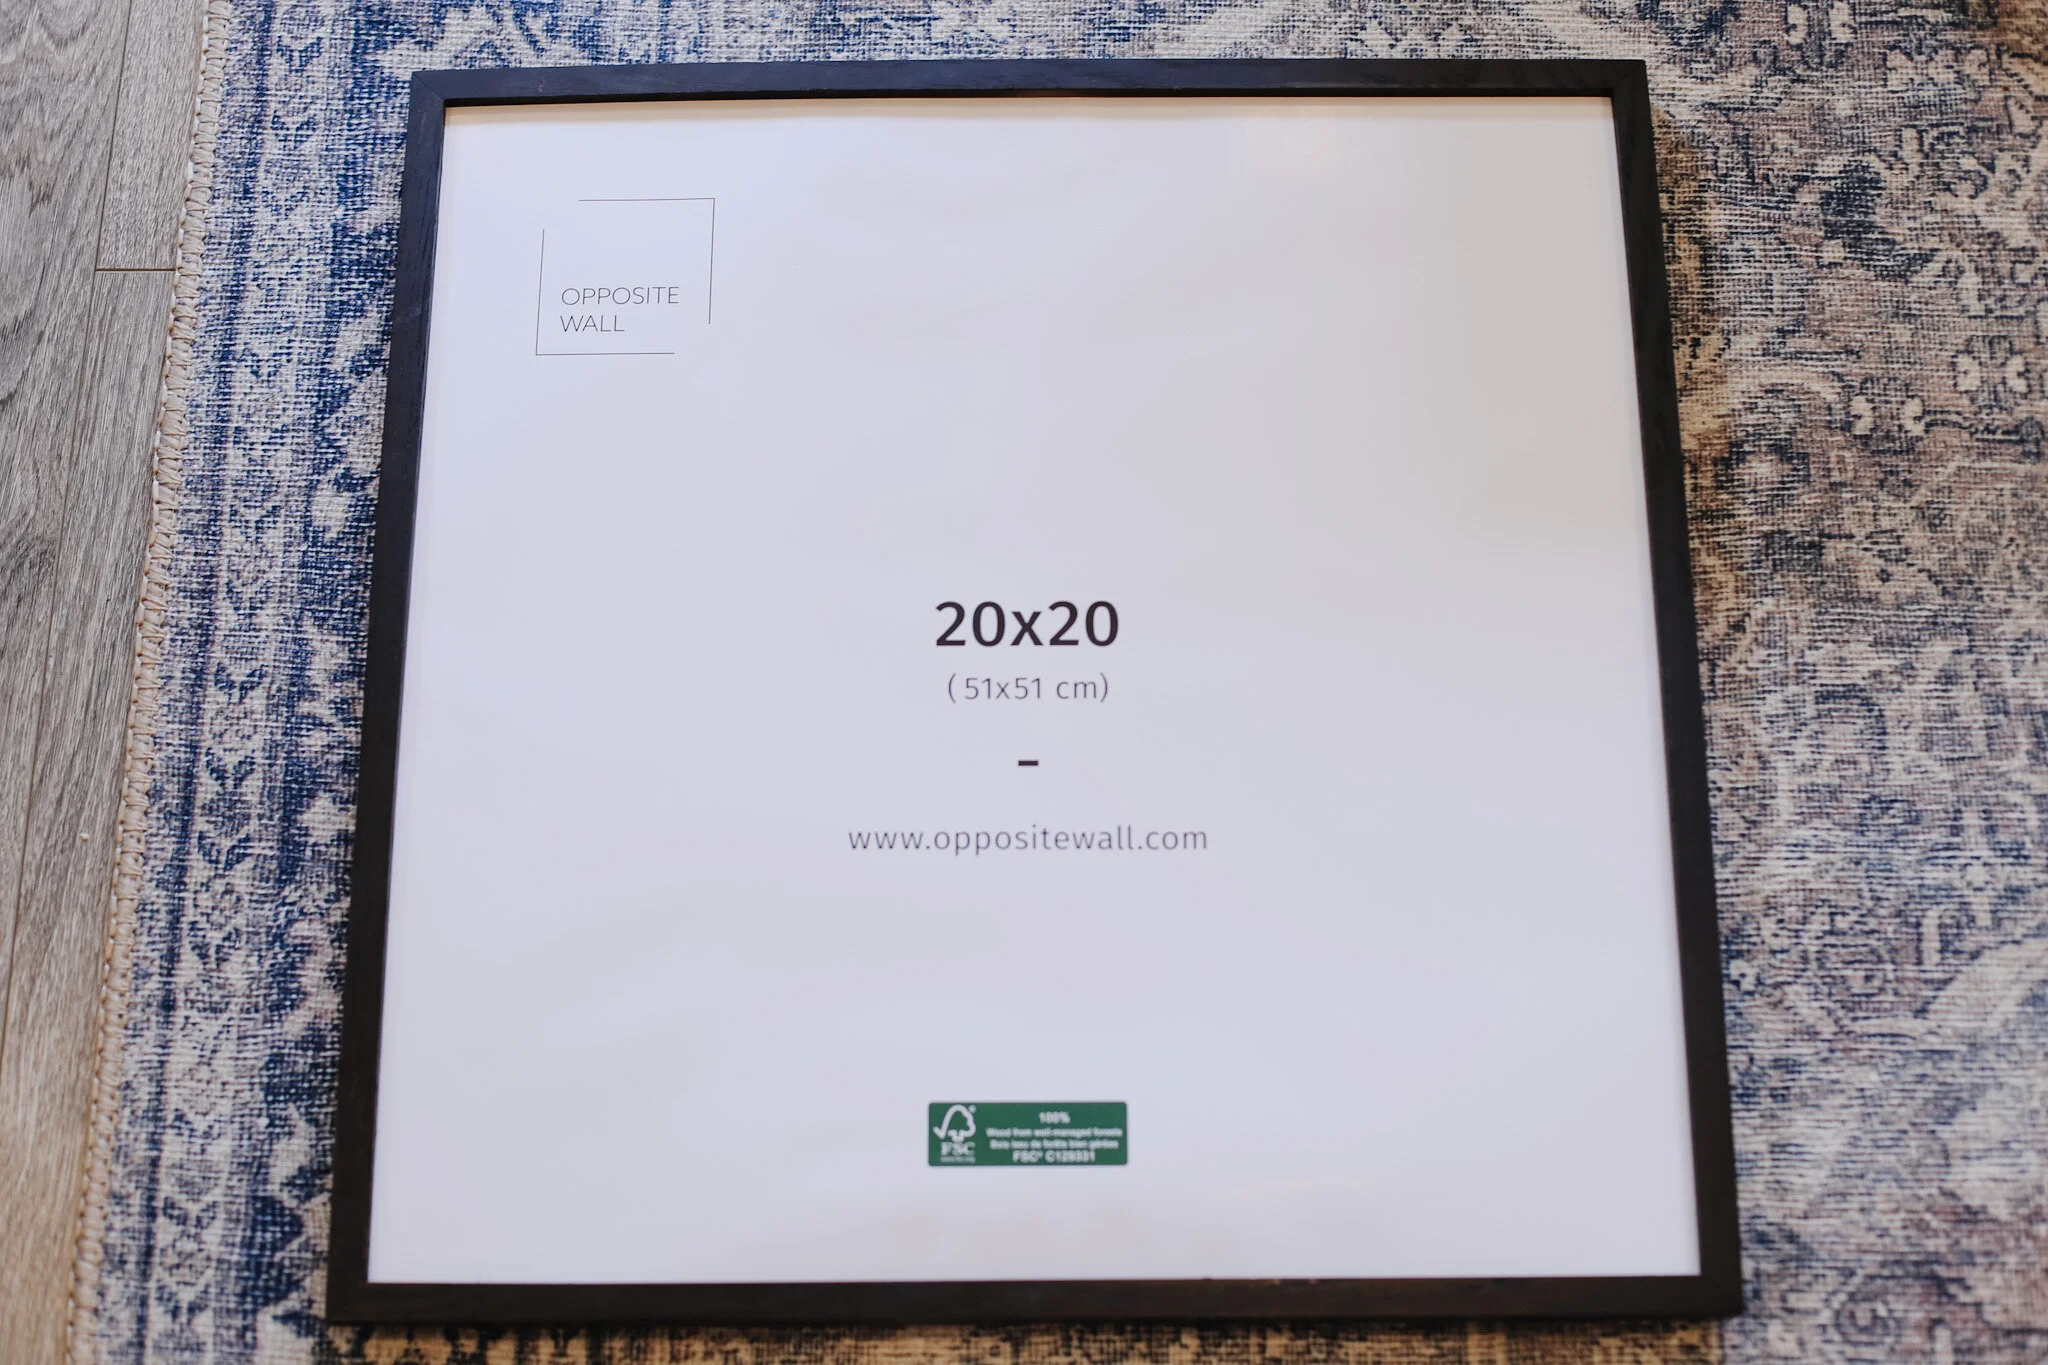
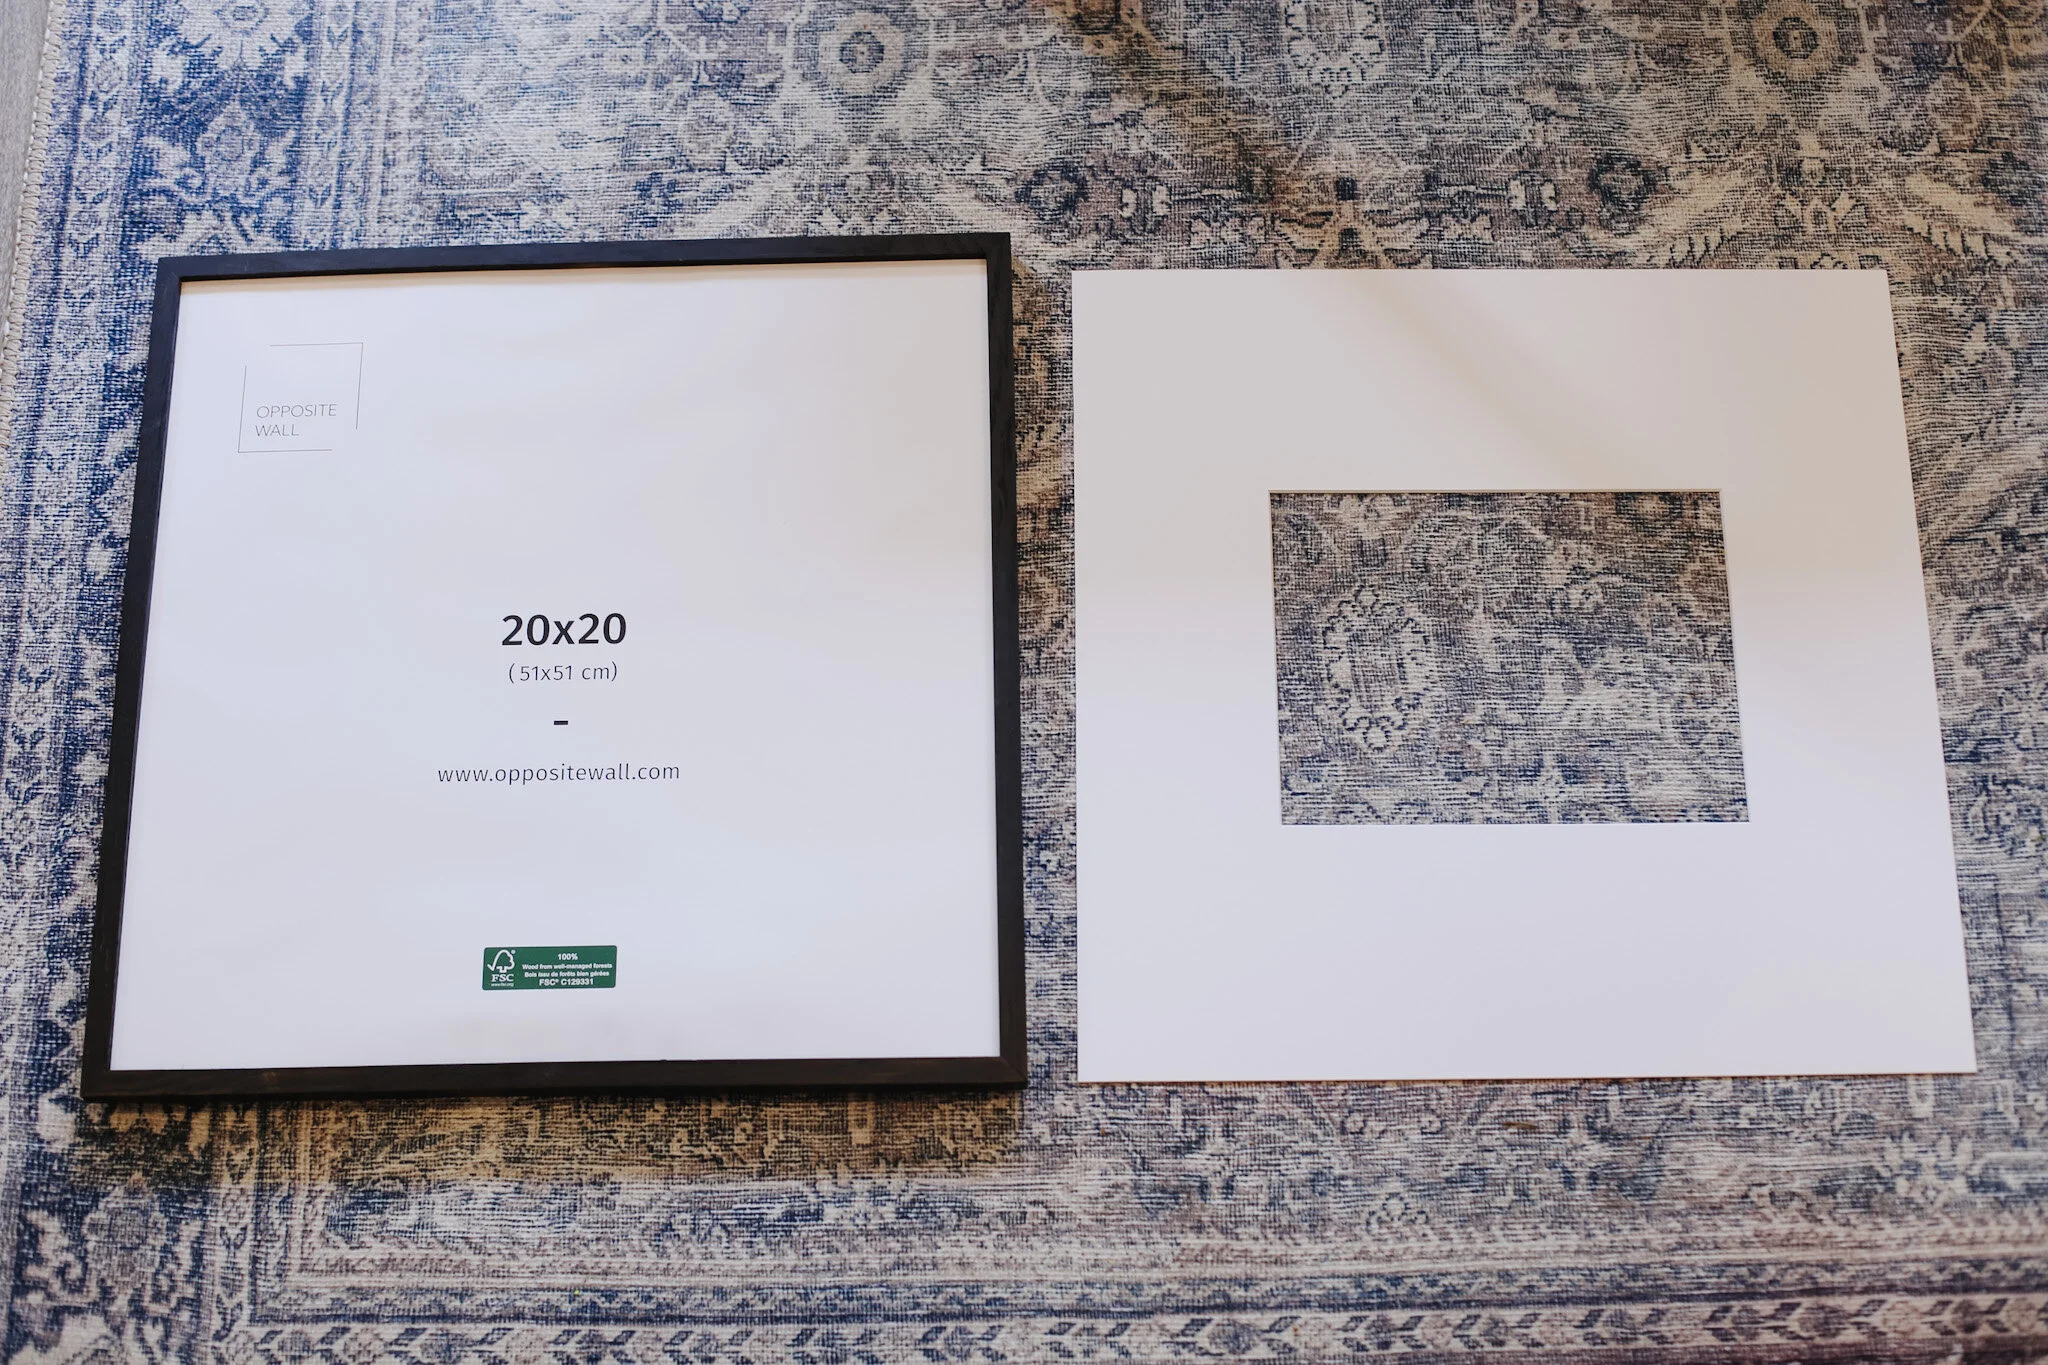
For this bedroom gallery wall, I chose to use Opposite Wall’s Black Oak 20x20” Frames. At $41 each, they are a total steal and they are sustainably sourced. Part of the reason that these frames are so affordable is that they have a plexiglass cover instead of glass, which means there’s also the indirect benefit of them being toddler-proof. Bonus!
I also found similar square frames are Walmart; I haven’t used them myself, but they look very close to what I used.
I started by measuring the wall I wanted to put the gallery wall on and envisioning what the frames would look like within that space. If you’re having trouble visualizing this, you can use painter’s tape (I did this on my previous project here) or kraft paper to mark out the frames and play around with the configuration.
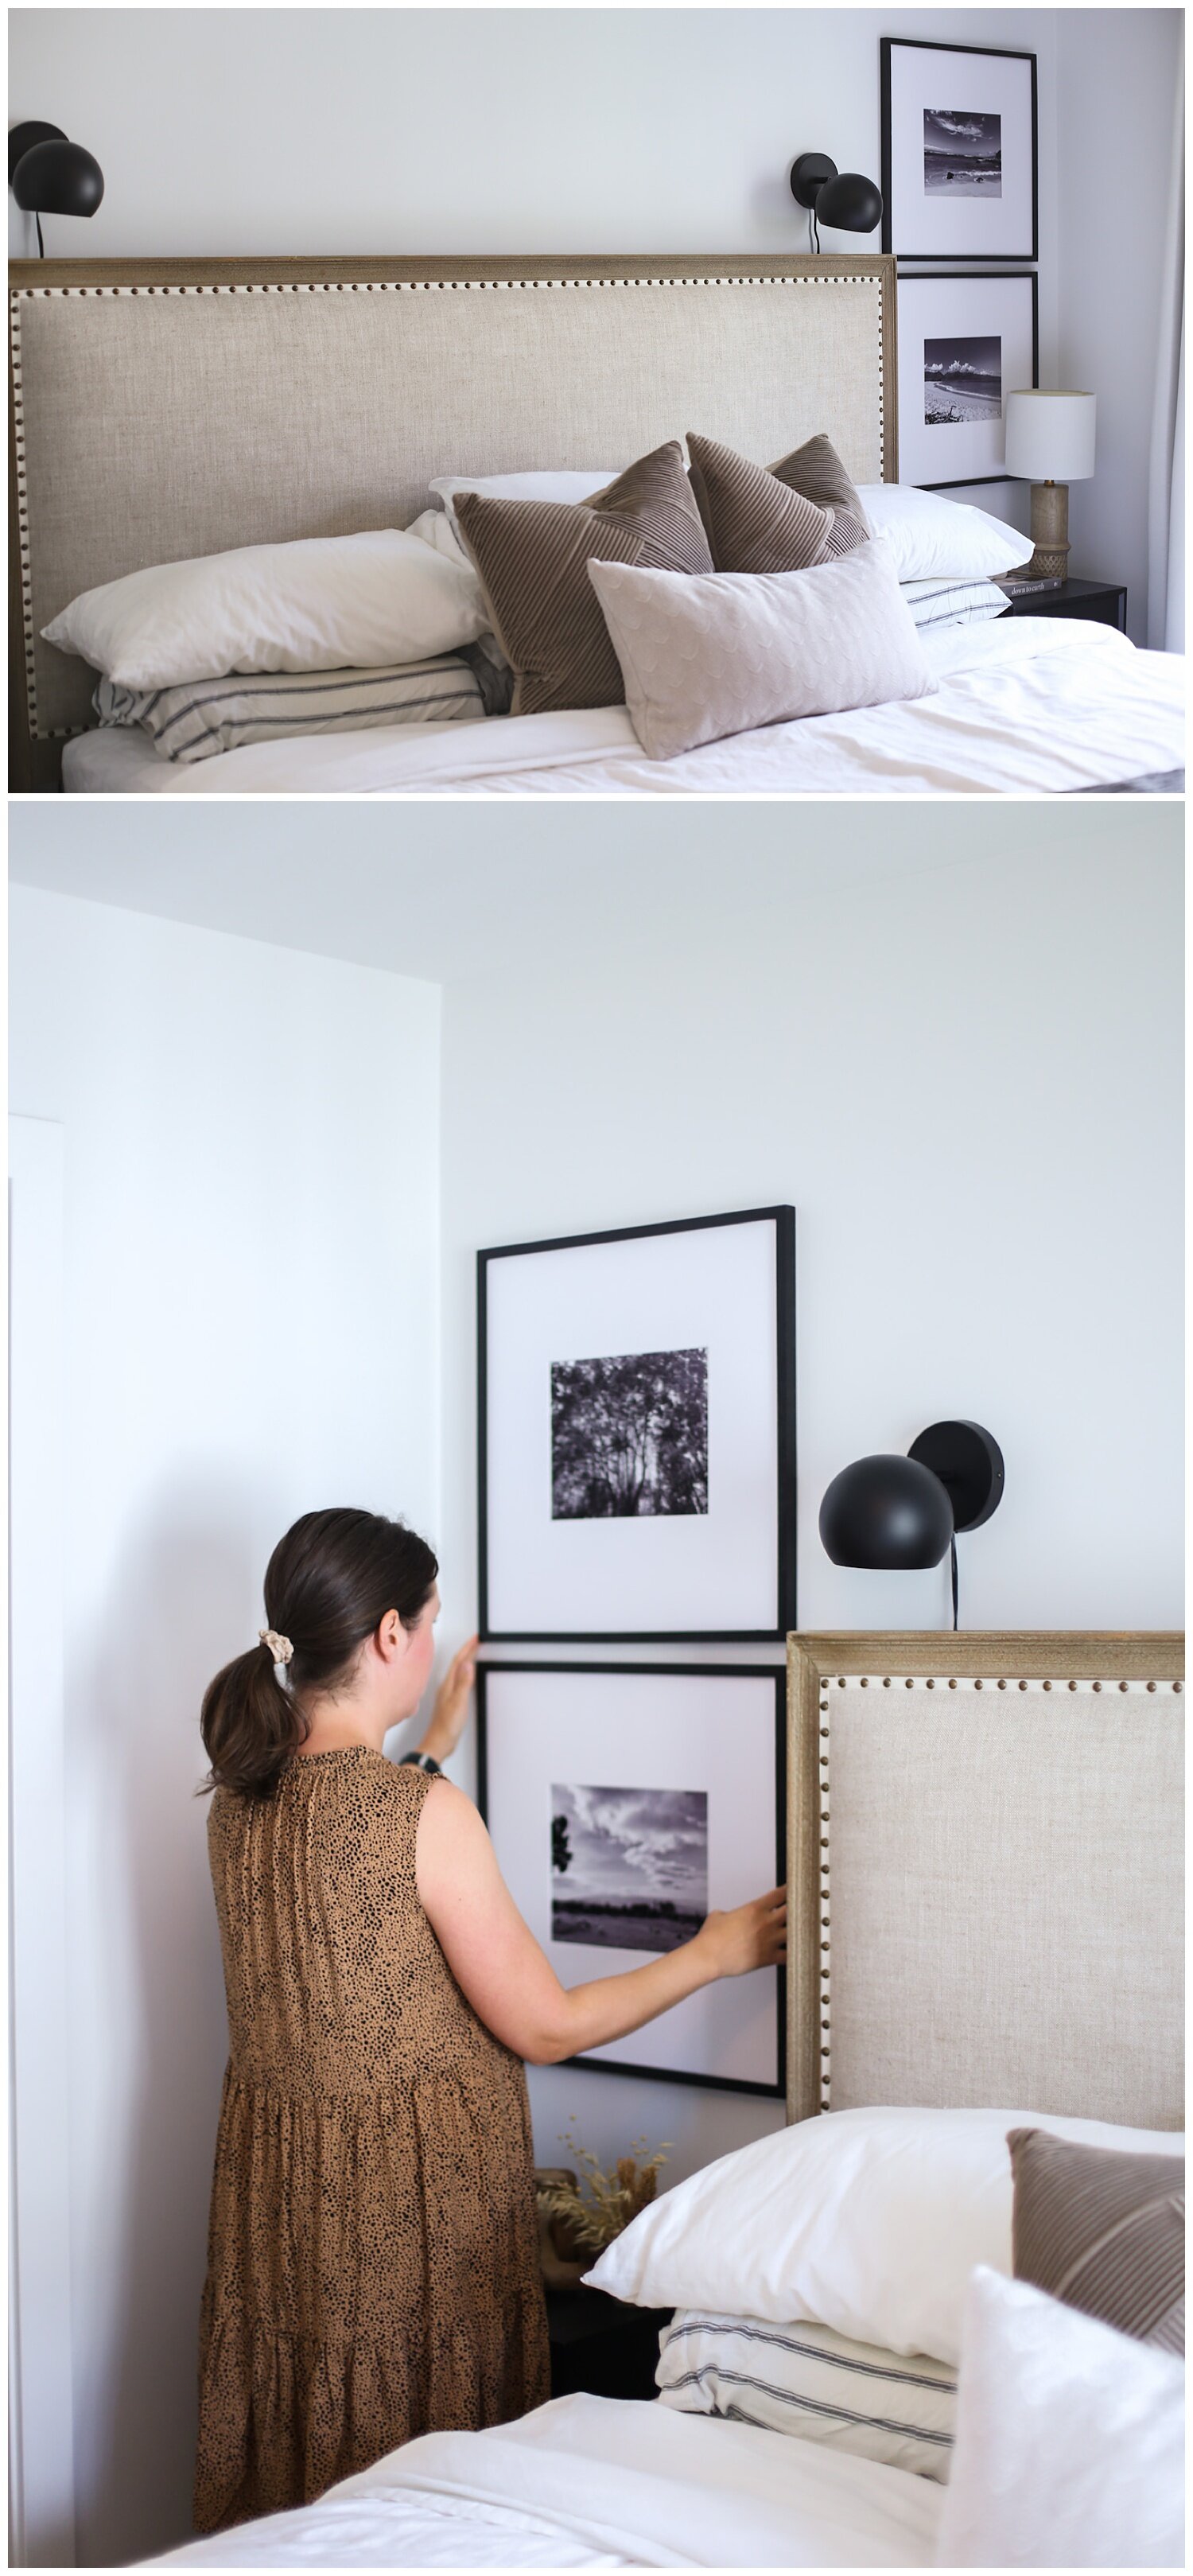
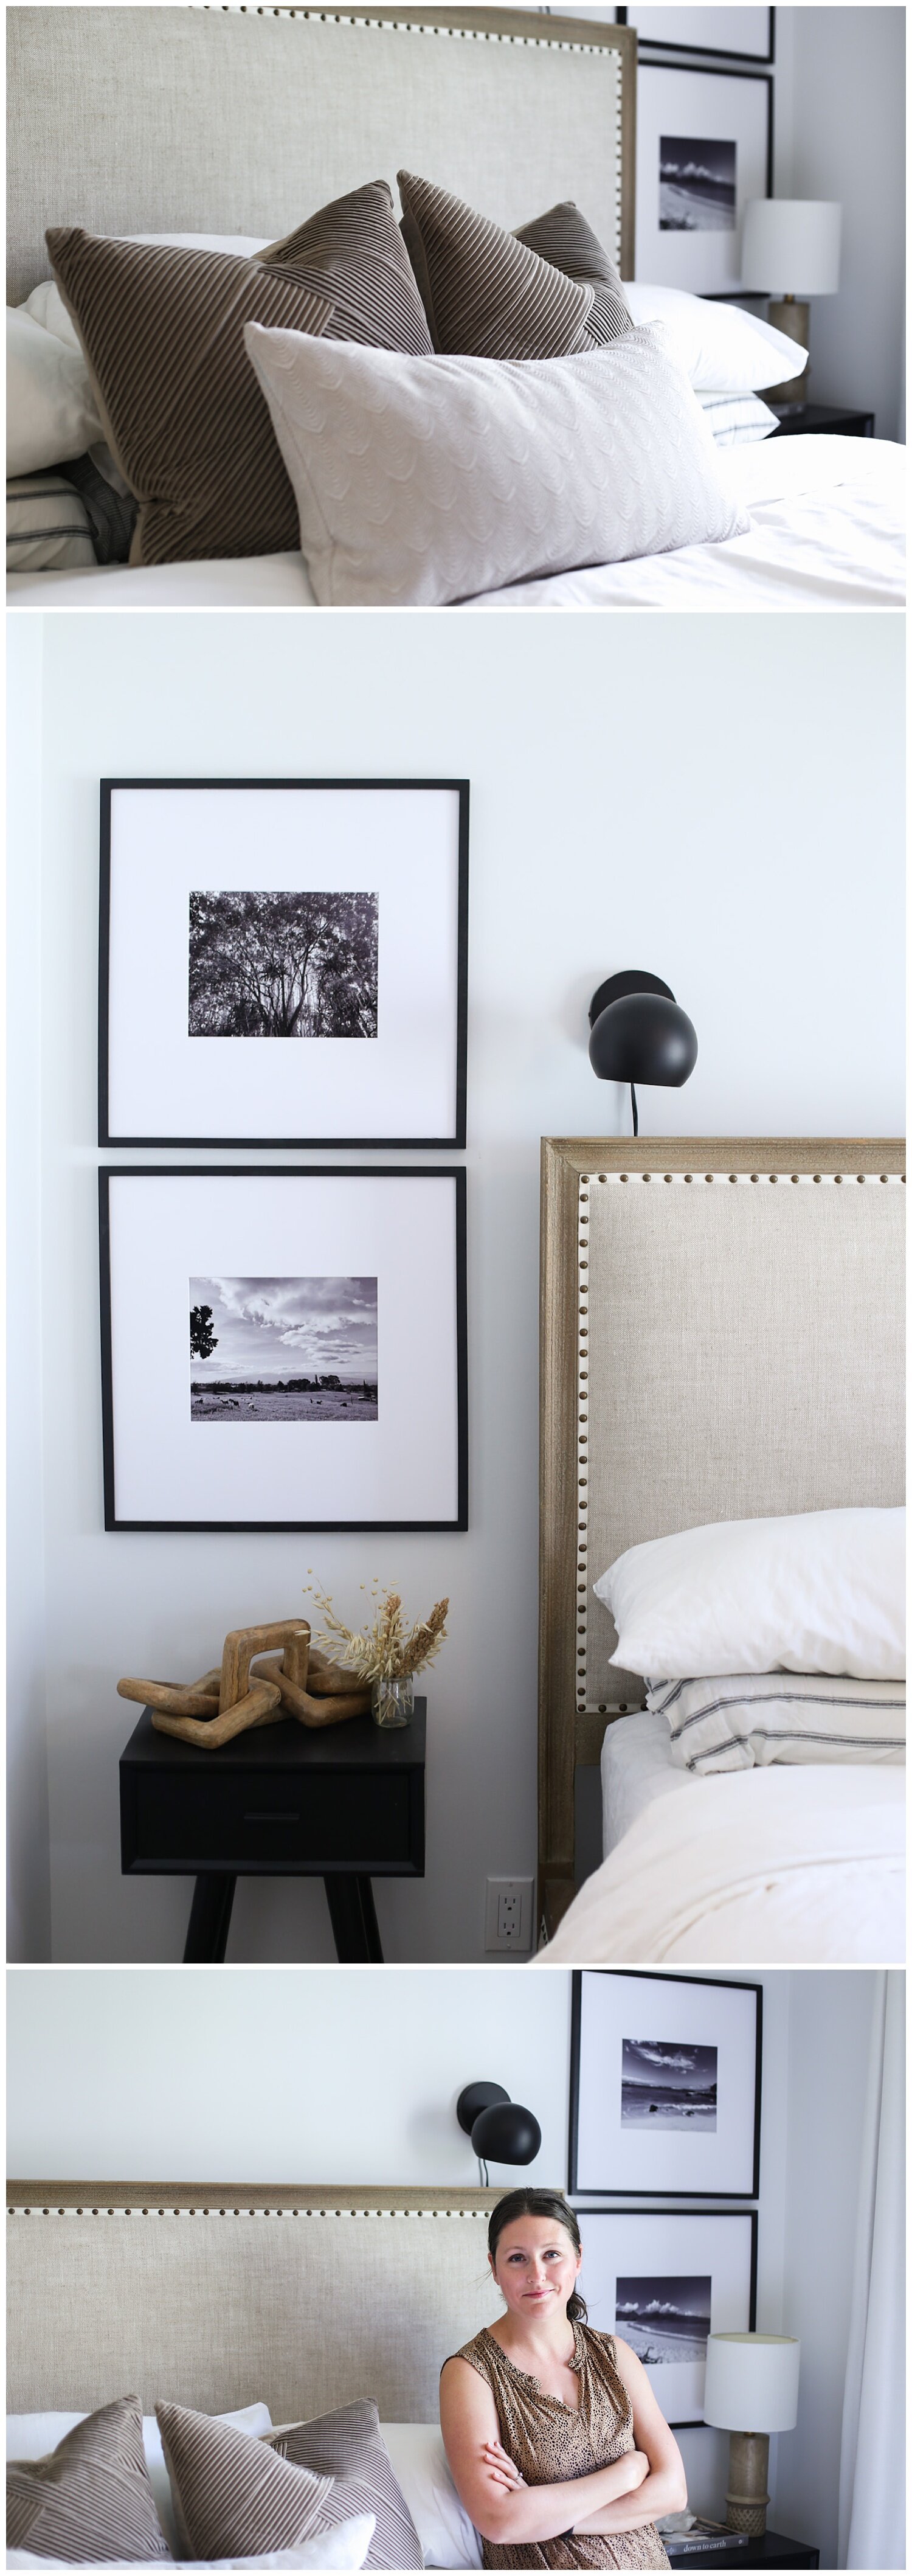
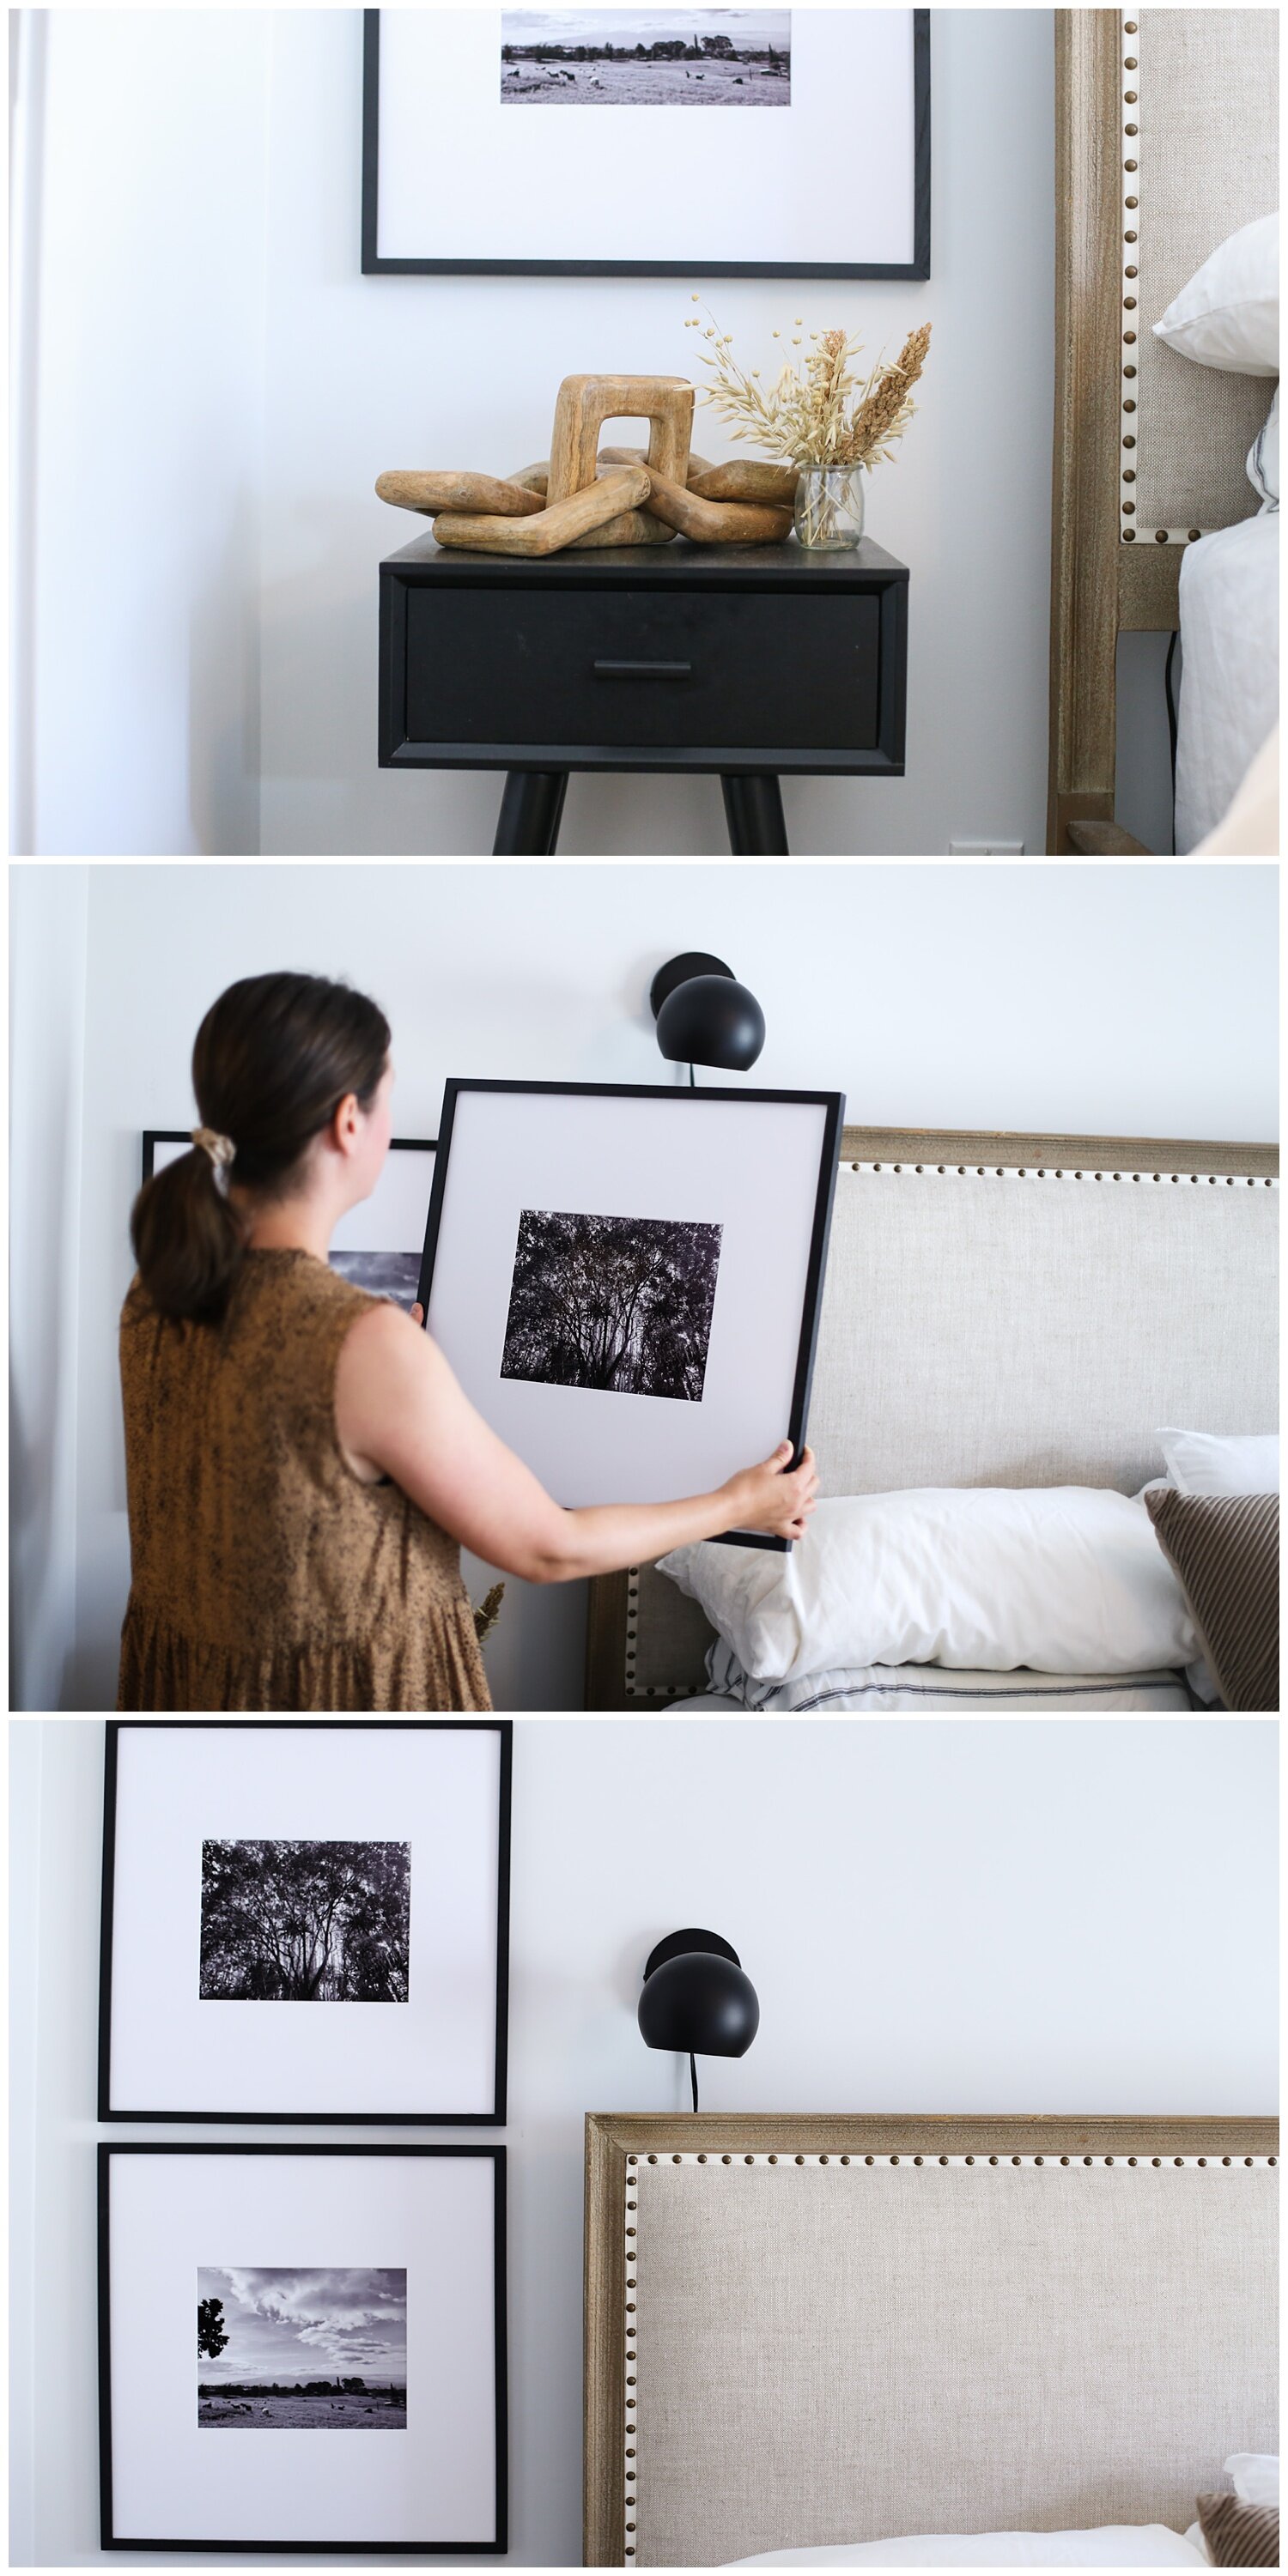
I chose our master bedroom for this project and decided to stack the frames on top of each other above our bedside tables.
STEP TWO: PURCHASE CUSTOM MATTING TO ELEVATE YOUR FRAMES
Opposite Wall frames don’t come with matting, which is perfect for our project because we are going to design our own.
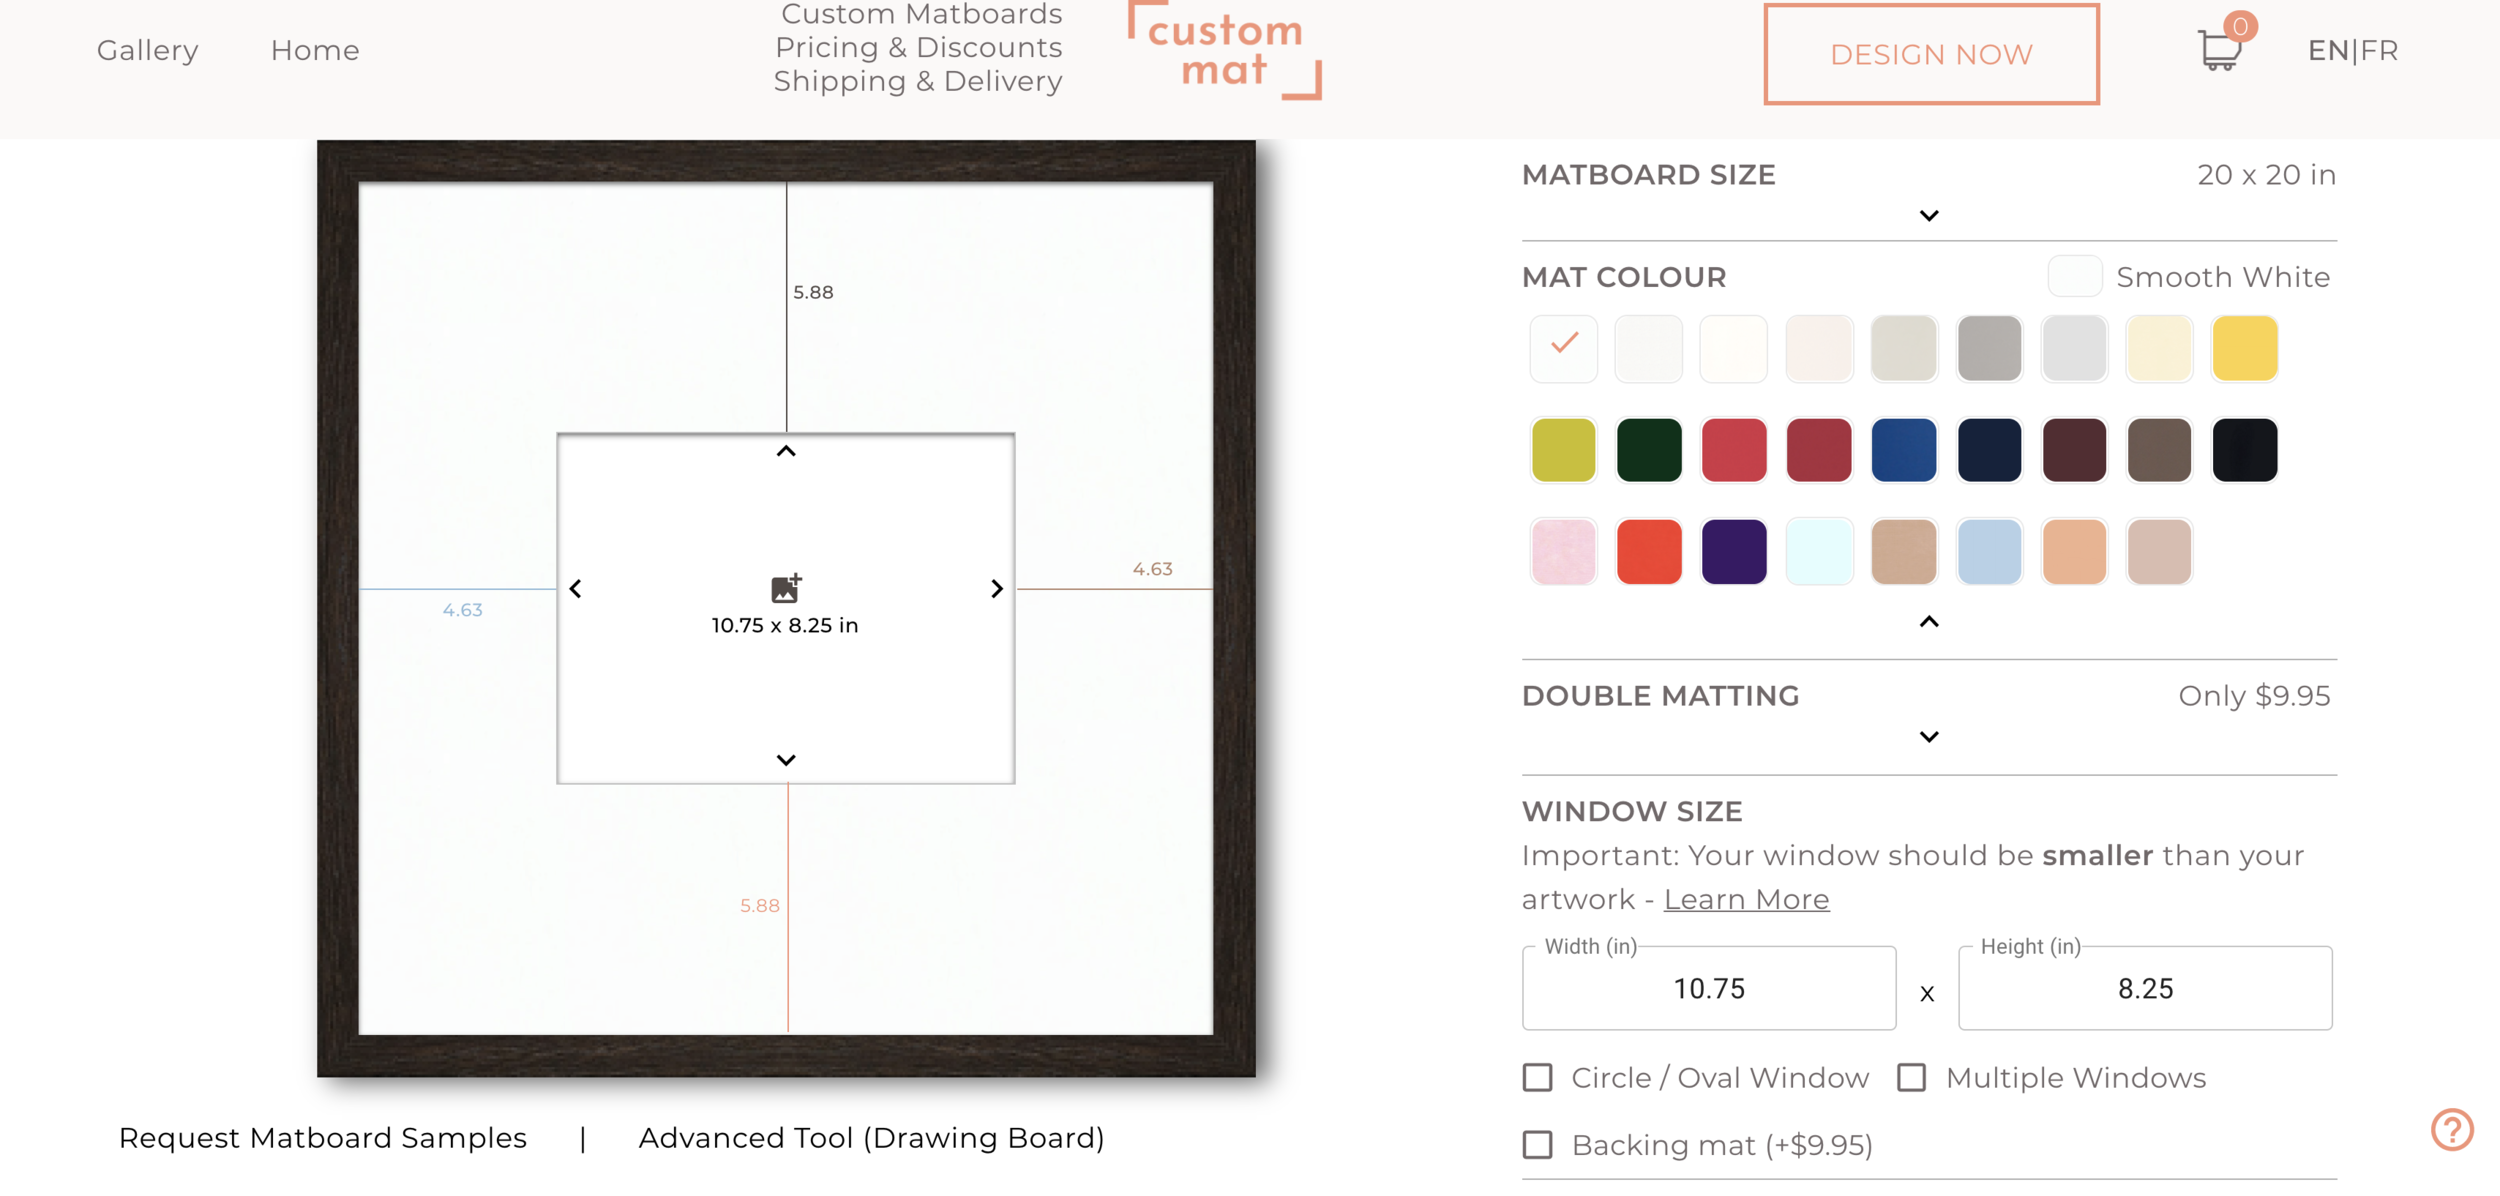
Mat Colour: Smooth White
Mat Size: 20x20"
Opening for a 11x8.5" photo: 10.75x8.25" (the photo window size needs to be a bit smaller than your photo)
Horizontal Margins: 4.63"
Vertical Margins: 5.88" (top), 5.88" (bottom)
Frames: 20x20" Opposite Wall Black Oak Frames
Custom Mat offers a quantity discount of up to 40% off, so the more mats you purchase, the bigger the discount. I ordered 4, so my mats came to just over $16 each. If you order 10 or more, you’ll get an even bigger discount. Bonus: they ship to Canada and the USA with free shipping over $49.
STEP THREE: SWAP OUT THE MATTING & ADD THE PHOTOS
This is where it gets fun! Once your matting arrives in the mail, put your matting and photos in the frames and see them transform before your eyes.
My favourite place in the entire world is Hawaii, so I decided to choose a few photos from my trips there as the art for my new bedside gallery wall. Not only do I love the photos, I love the idea of waking up and falling asleep next to some of my favourite memories ever. I chose to use black and white photos to go with our modern traditional bedroom, but you could absolutely create a similar gallery wall with colour photos.
STEP FOUR: HANG YOUR GALLERY WALL
The final step in my gallery wall tutorials is always the hardest - hanging it! I centered my frames above our bedside tables and hung them 1 inch apart.
I chose to hang my photos in our bedroom, but these frames would also make a great behind-the-couch gallery wall, stairway gallery wall, family photo gallery wall….well, you get the idea - the possibilities are endless.
If you make this gallery wall, please DM me on Instagram and send me photos; I love to see how you shop big and spend small with me.

