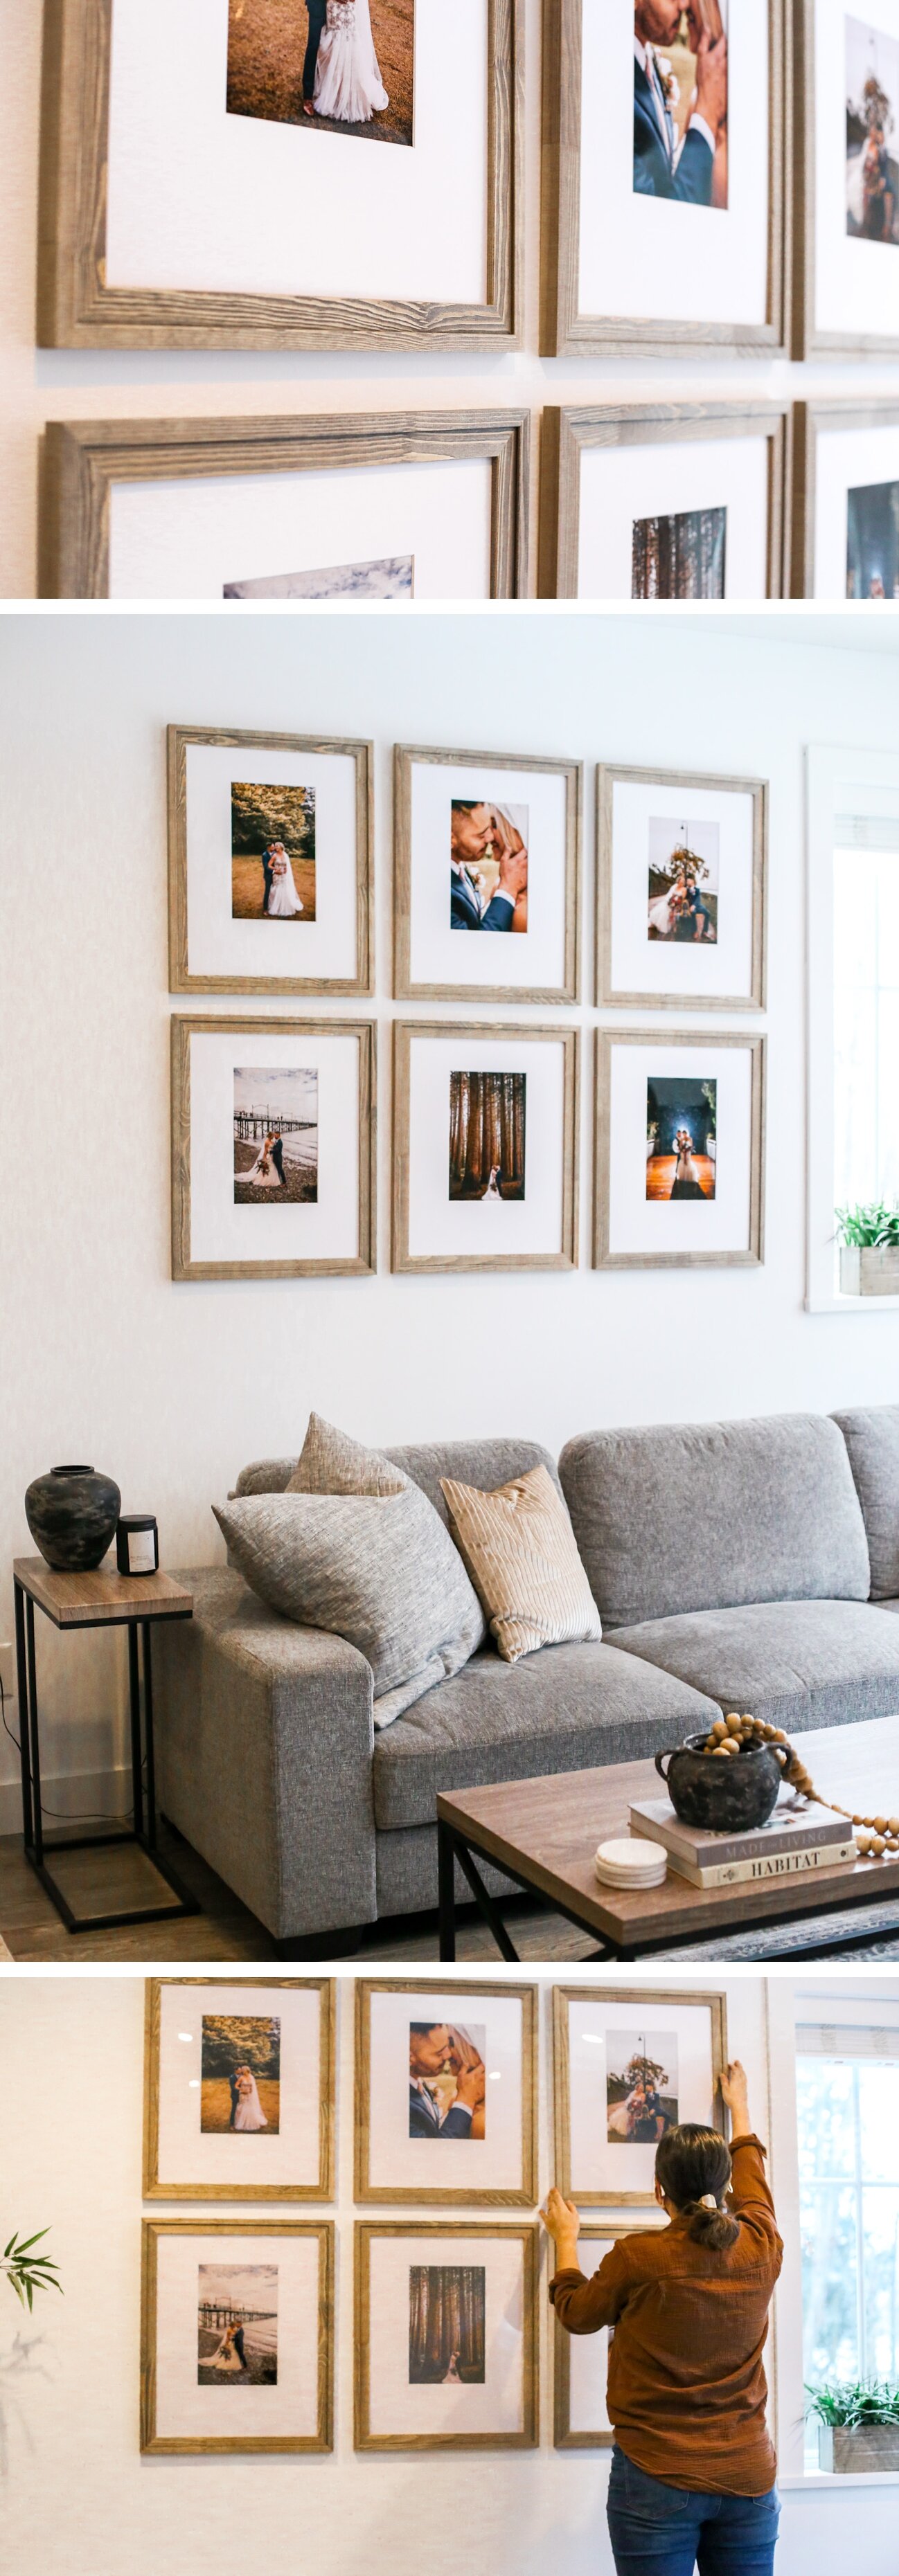
GALLERY WALL TEMPLATE: OFFSET OVERSIZED MAT RAMSBORG FRAMES
/SPONSORED POST
This DIY project is sponsored by Custom Mat. I wrote this article myself and as always, all opinions are 100% my own.
Whether you’re looking for a wedding gallery wall, a behind-the-couch gallery wall, or some gallery wall templates, you’ve landed in the right place. Welcome to my gallery wall and picture frame series, where I show you how to get the most beautiful gallery walls on a budget. This is actually my fourth post in the series; so far I’ve made:
AN OVERSIZED BLACK AND WHITE MAT GALLERY WALL GRID
DIY OVERSIZED MAT & SQUARE FAMILY PHOTO FRAMES
AN OVERSIZED MAT GALLERY WALL WITH IKEA RIBBA FRAMES
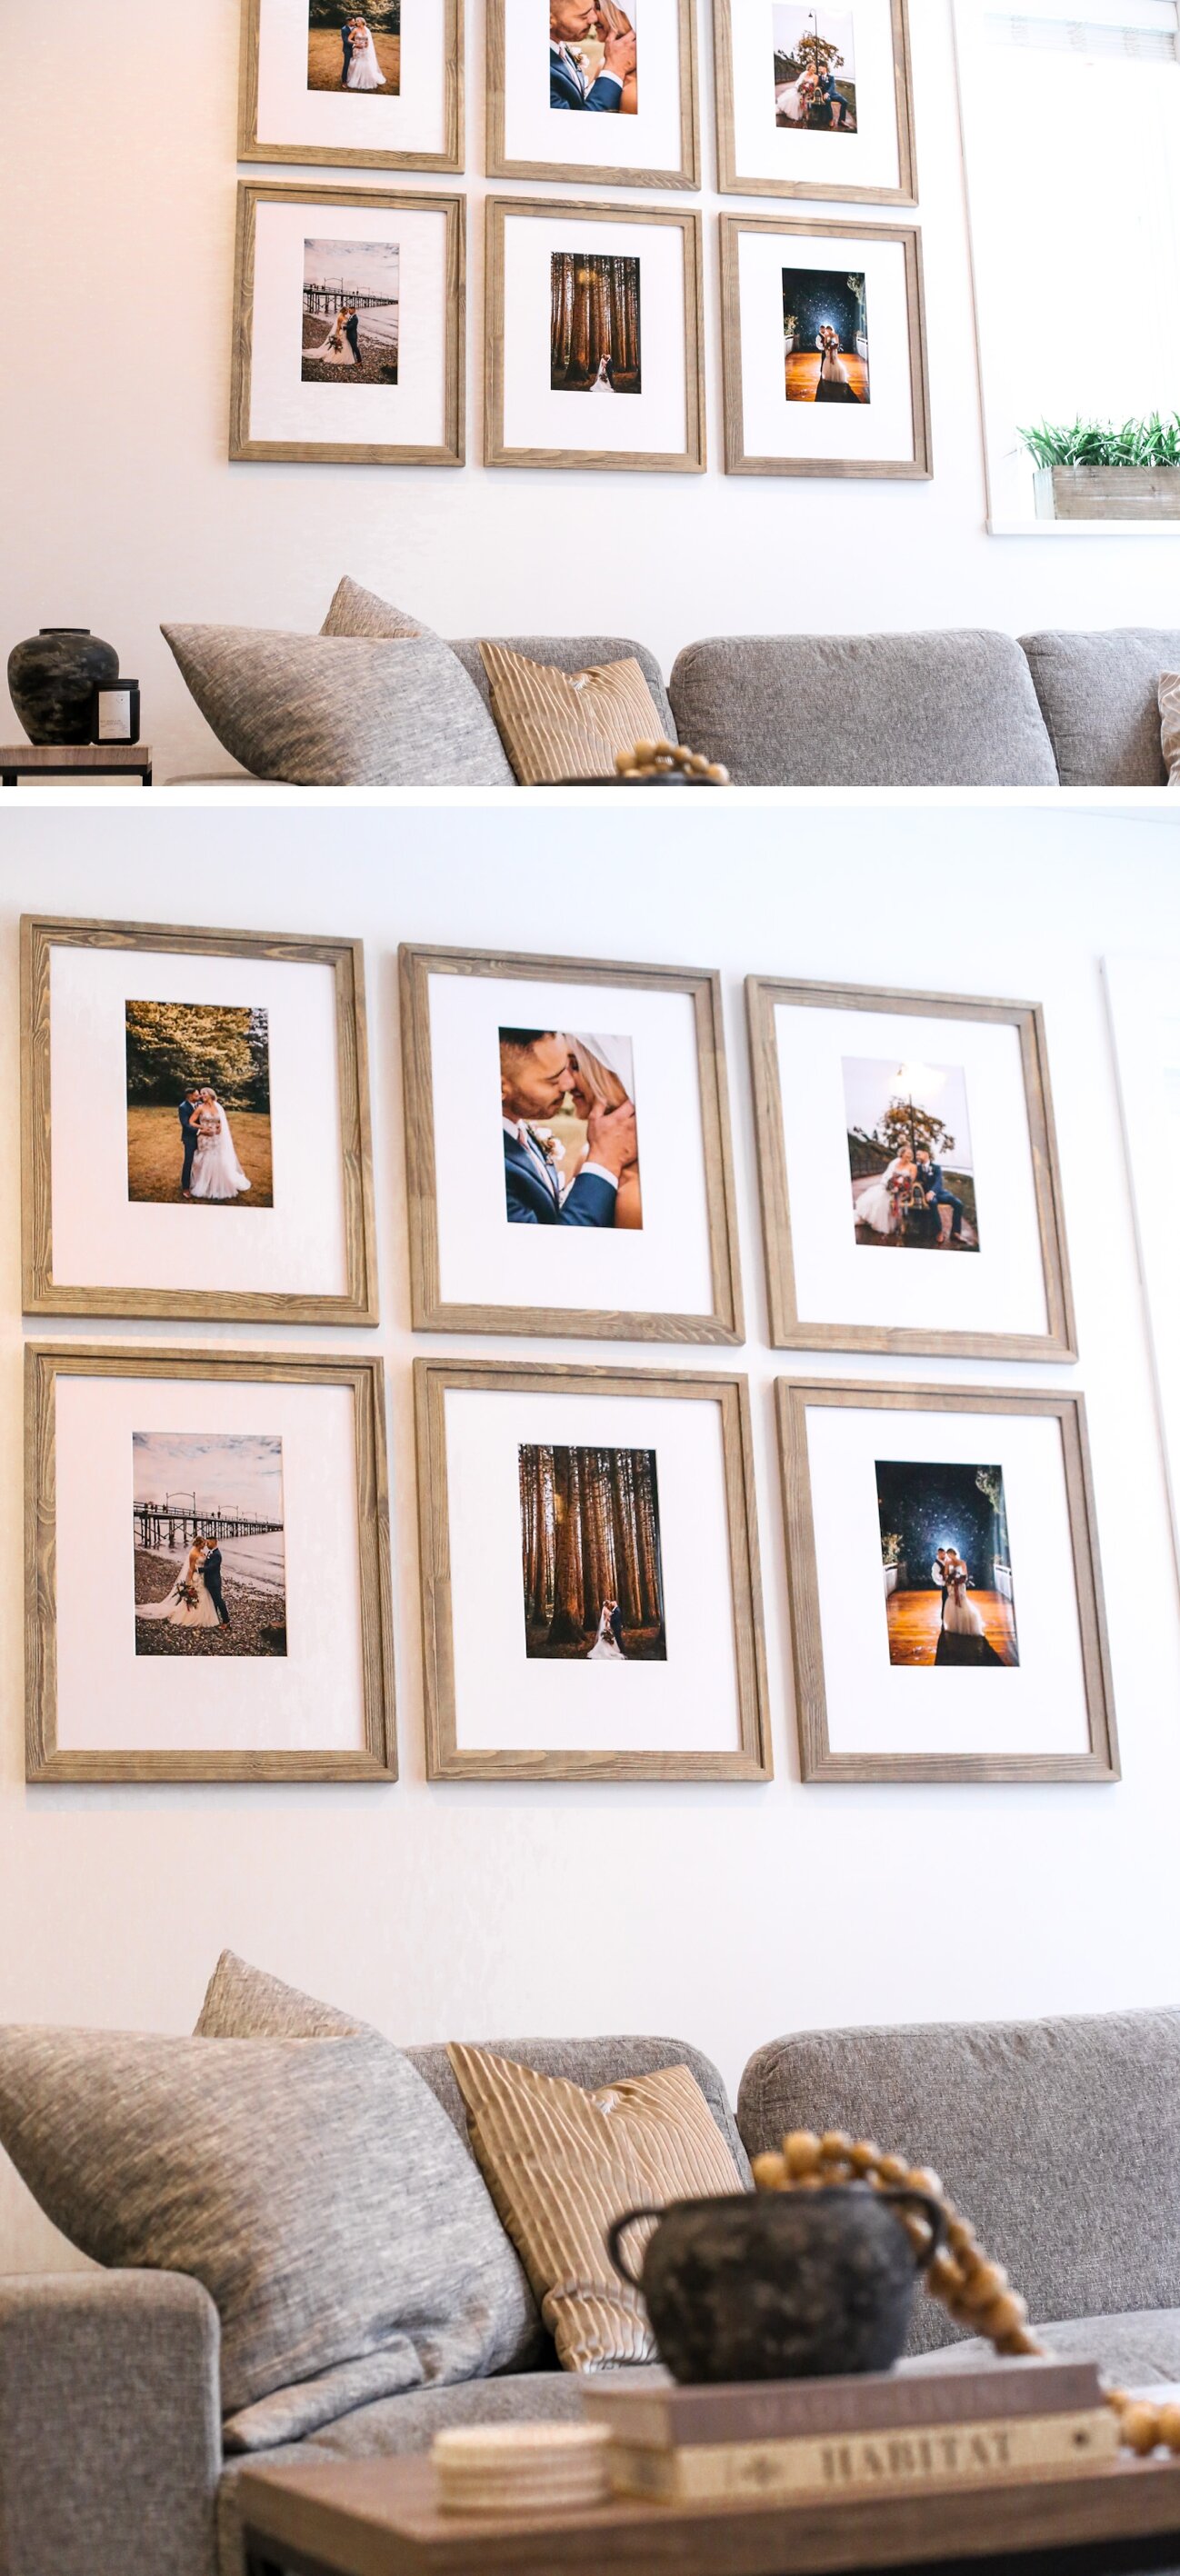
We all love a good #ikeahack, right? So today I’m showing you how to create a wedding photo gallery wall with IKEA Ramsborg frames. It of course doesn’t have to be a wedding photo gallery wall - it could be a gallery wall of family photos, an engagement shoot gallery wall, a travel gallery wall….well, you get the idea.
As always, I am using super affordable frames and elevating them instantly by swapping out the matting for some custom matting I designed with Custom Mat. If you love the current trend of large matting with small photos, this is how you do it on a budget.
I’m going to give you my exact process and measurements, so you can easily recreate this DIY on your own. Let’s get started!
STEP ONE: PURCHASE YOUR AFFORDABLE PICTURE FRAMES
For this above-the-couch gallery wall, I chose IKEA’s 16x20" Ramsborg frames. I saw these frames while shopping for my last gallery wall, and at just $23 Canadian (or $17 US), I knew I had to use them for my next project. The rustic wood frame is a total steal for the price and they look even better in person.
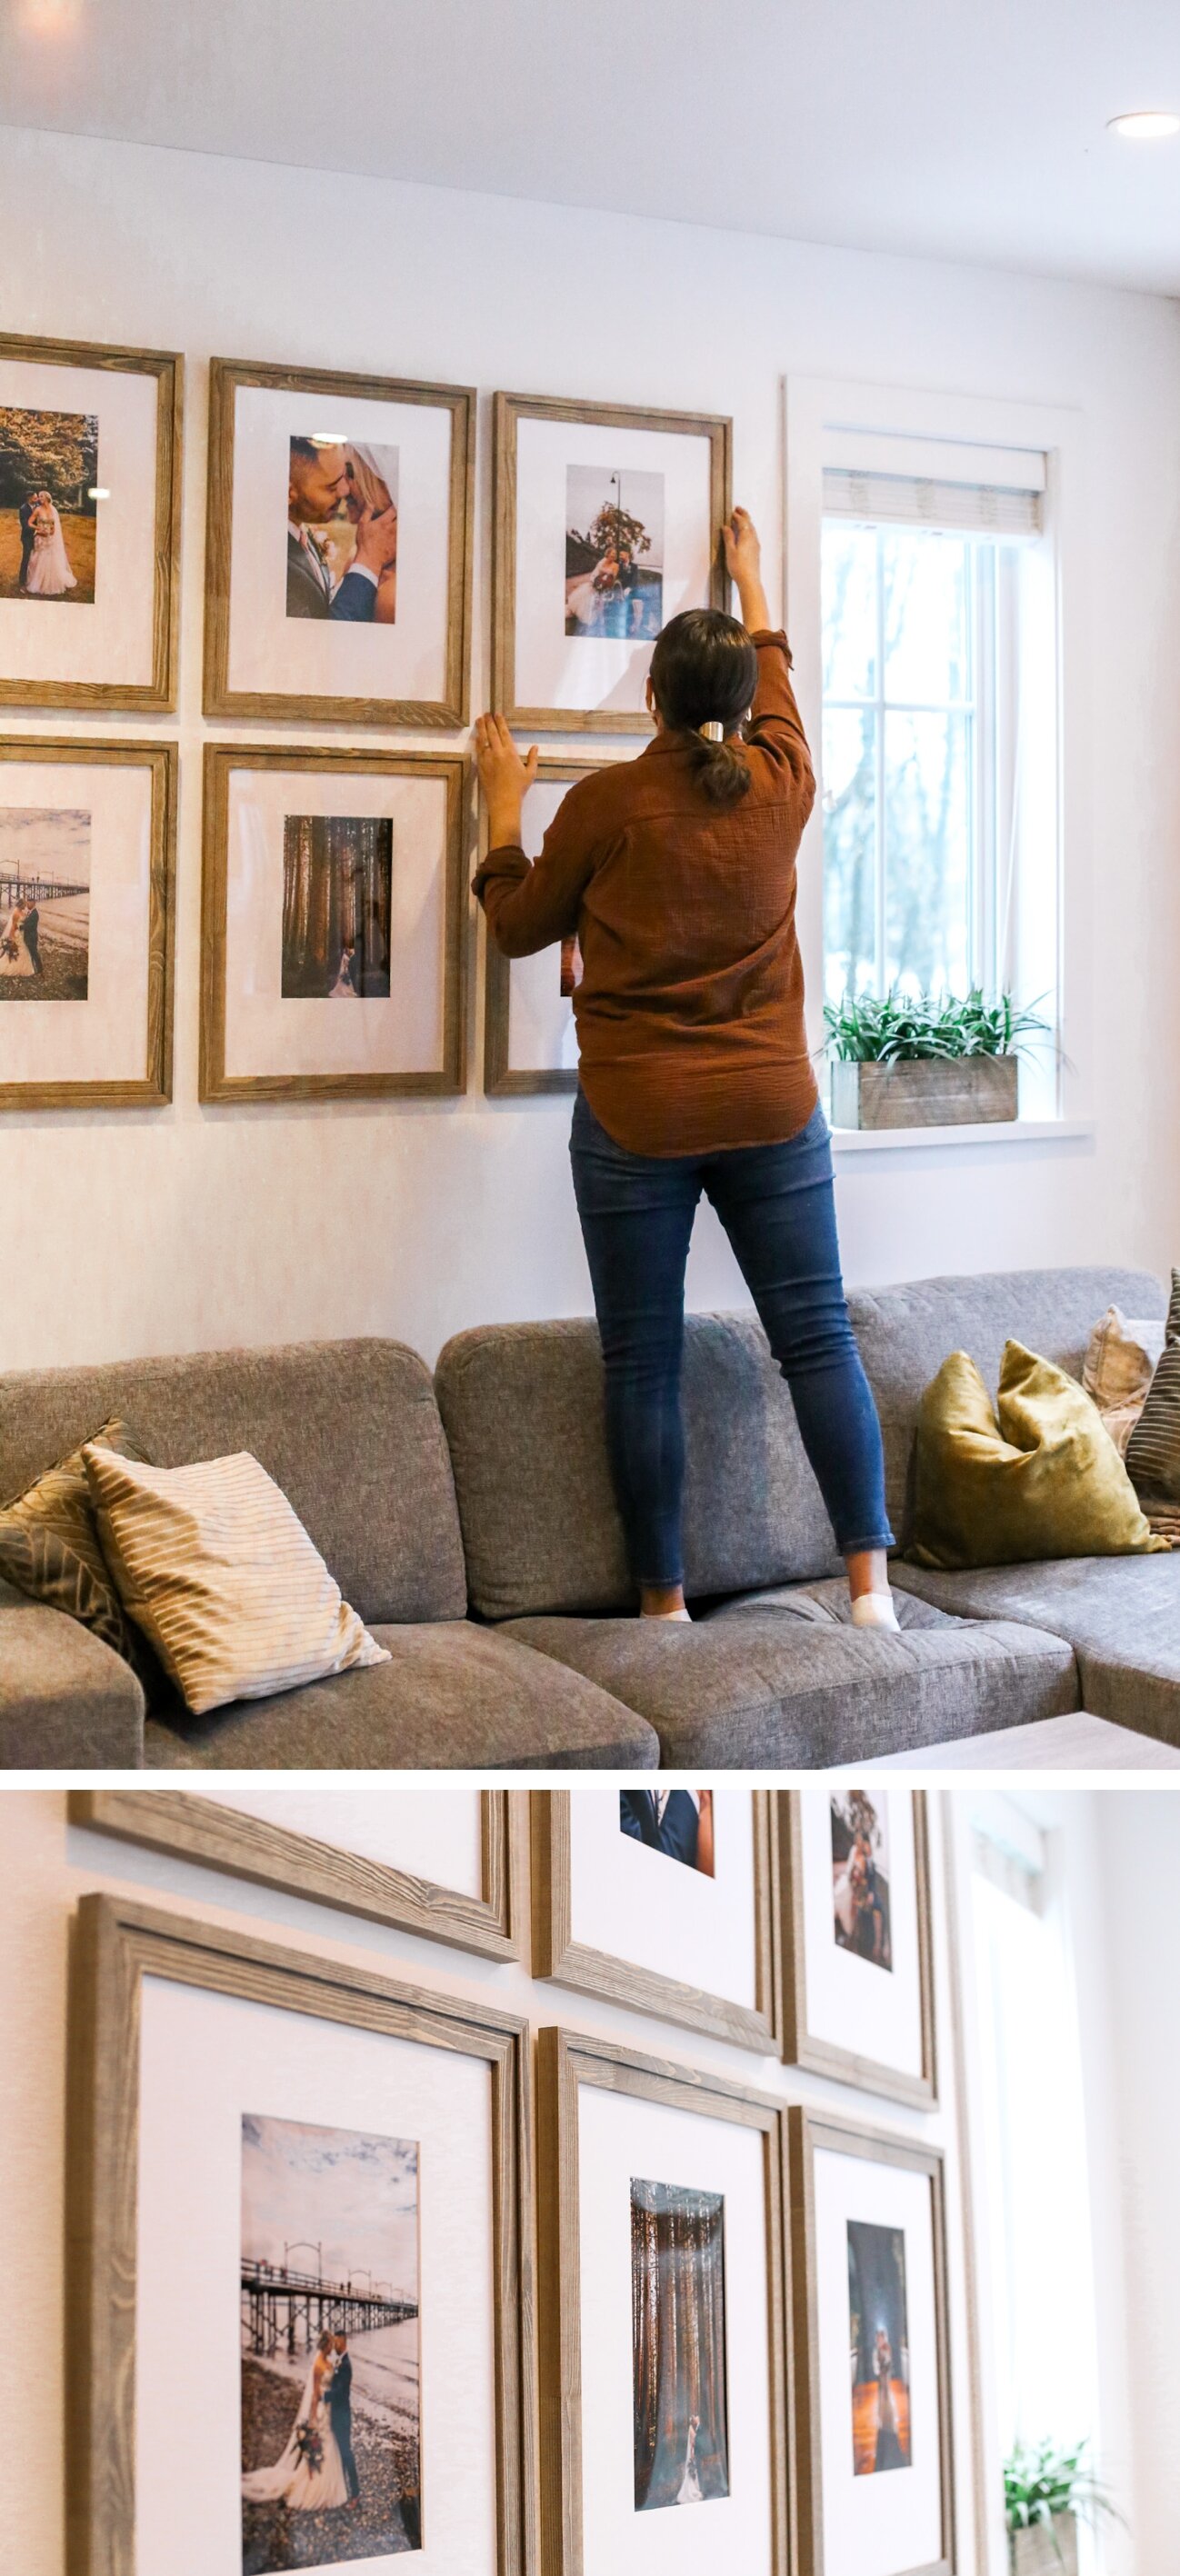
I started by measuring the wall I wanted to put the gallery wall on and envisioning what the frames would look like within that space. If you’re having trouble visualizing this, you can use painter’s tape (I did this on my last project here) or kraft paper to mark out the frames and play around with the configuration. I chose to go with 2 rows of three and to space out the picture frames 1.75" apart.
STEP TWO: PURCHASE CUSTOM MATTING TO ELEVATE YOUR FRAMES
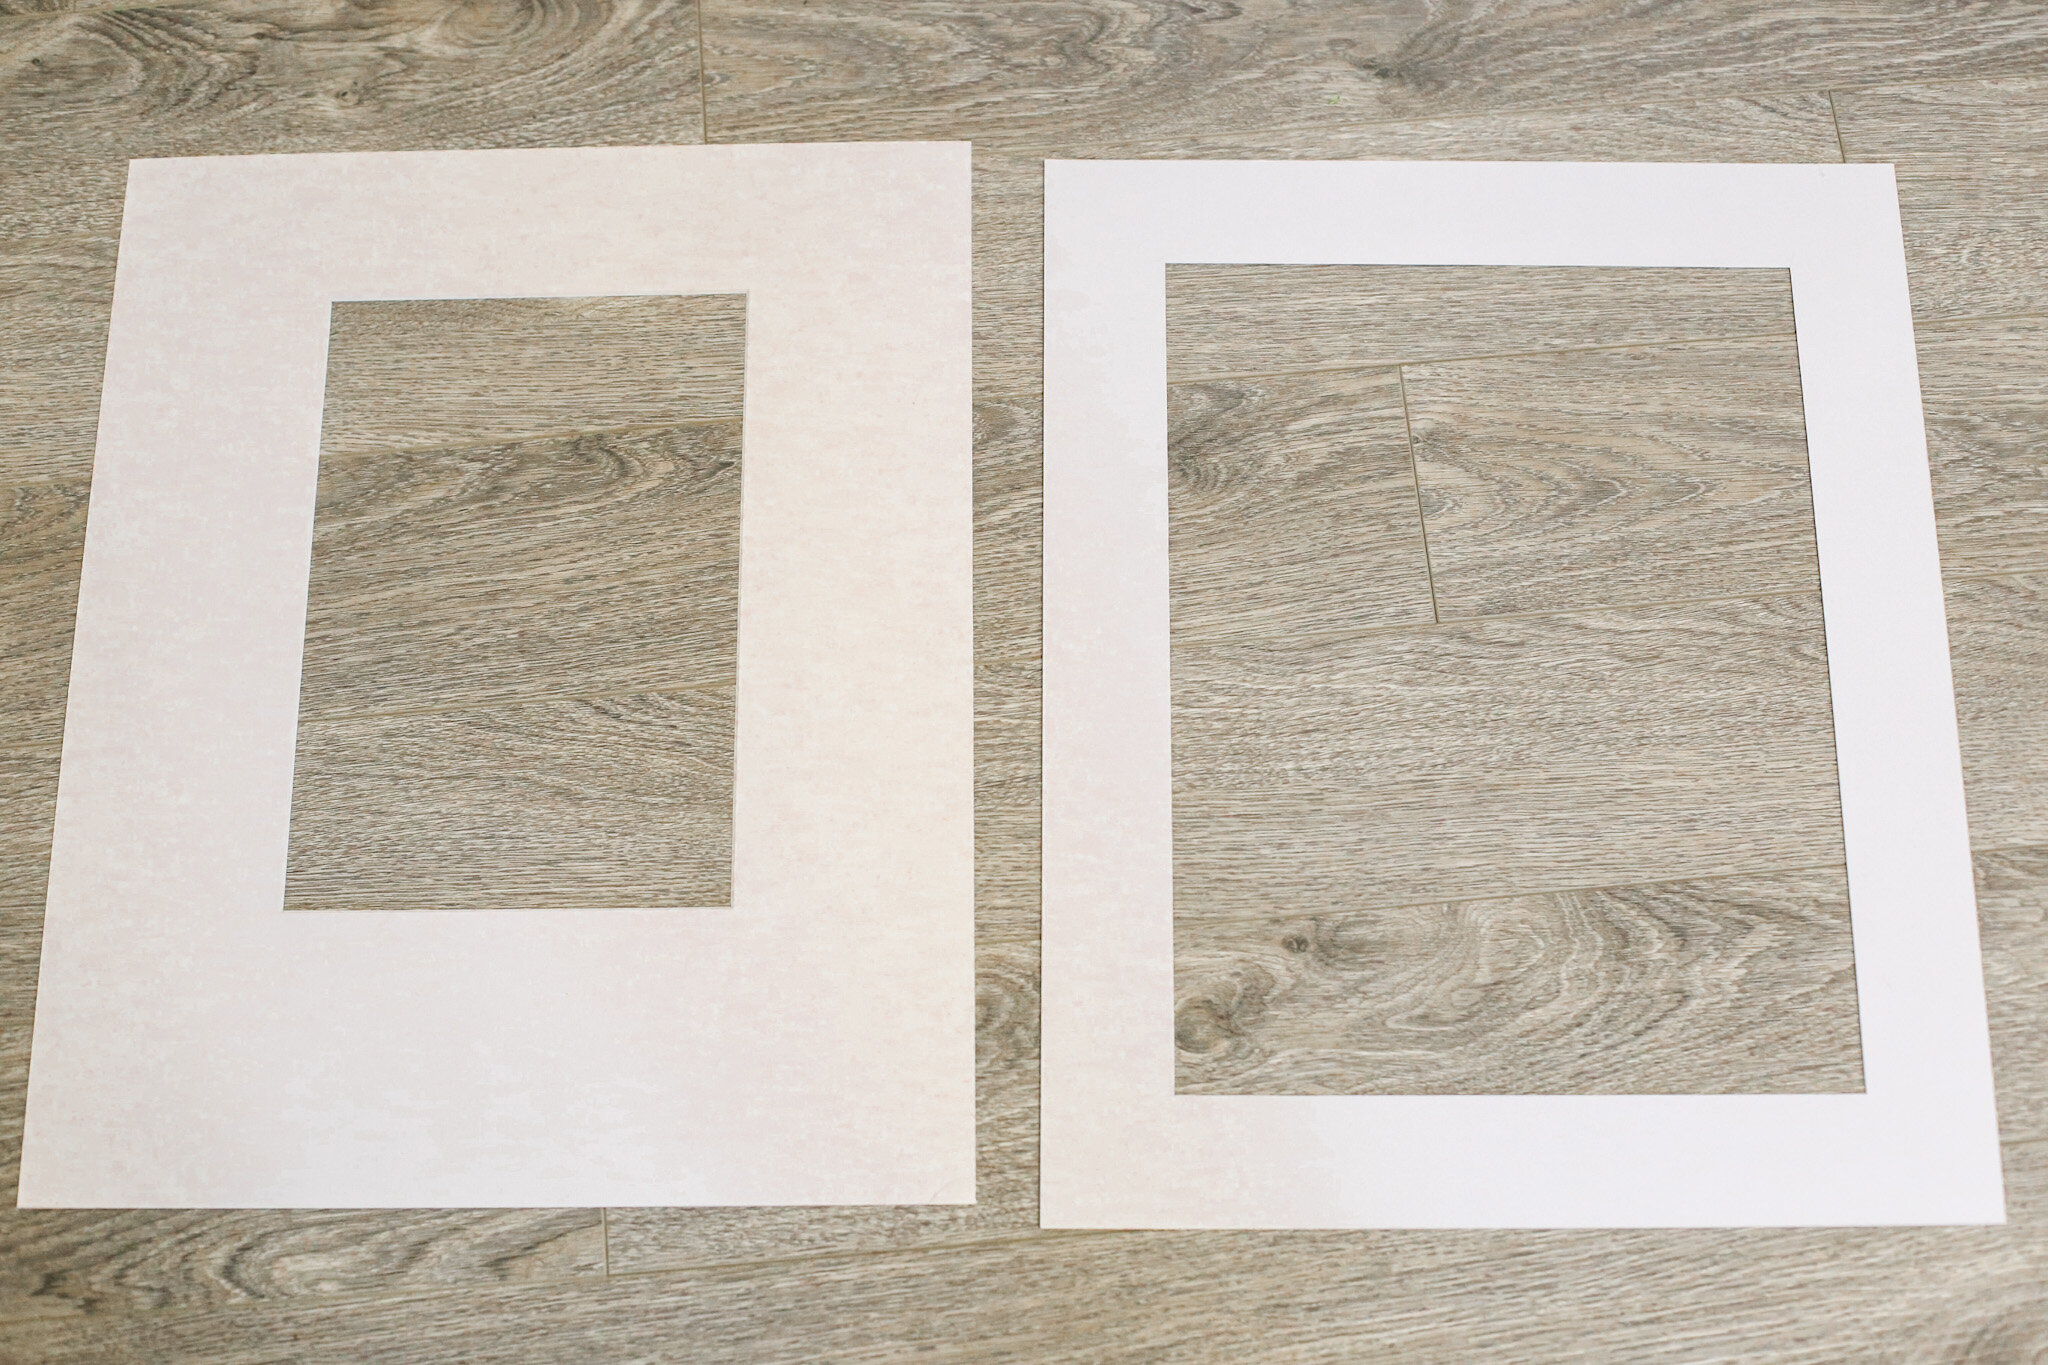
IKEA frames come with basic matting, but we are going to create our own in order to get the offset, oversized matting look. Below are the exact measurements I used for my 16x20" Ramsborg frames with room for an 8x12" photo. To get this exact look, just put the details below into Custom Mat’s interactive matboard designer tool.
Mat colour: Smooth White
Opening for a 8x12" photo: 7.75x11.75" (the photo window size needs to be a bit smaller than your photo)
Horizontal Margins: 4.13"
Vertical Margins: 3.13" (top), 5.13" (bottom)
Size of overall matting: 16x20"
Frames: 16x20" Ramsborg frames
Note that I wanted the photo slightly offset in the frame, which is why my top and bottom margins are different. If you’d prefer to have your photo centered, just set your vertical margins to 4.13" for both.
Custom Mat offers a quantity discount of up to 40% off, so the more mats you purchase, the bigger the discount. I ordered 6, so my mats came to just over $16 each. If you order 10 or more, you’ll get an even bigger discount. Bonus: they ship to Canada and the USA with free shipping over $49.
STEP THREE: SWAP OUT THE MATTING & ADD THE PHOTOS
This is where it gets fun! Once your matting arrives in the mail, swap out the matting and see your frames transform before your eyes. In the photo below, the left is the Custom Mat matting and the right is the standard IKEA matting.
STEP FOUR: HANG YOUR GALLERY WALL
Honestly, this is the hardest part of the entire tutorial. When it comes to gallery walls, spacing is everything; I chose to evenly space my frames 1.75" apart (top to bottom and side to side).
Isn’t DIY the best?! Similar frame sets like this sell for over $900, and we just did it for under $250. If you make this gallery wall, please DM me on Instagram and send me photos; I love to see how you shop big and spend small with me.

